Back up your VPS with Clonezilla
This guide explains how to perform a full disk backup of your HostMyServers VPS with Clonezilla Live, and transfer it over SSH to a remote Windows computer.
The resulting image contains the entire disk: system data, user partitions, boot loader, etc. Only the used blocks are copied, then compressed.
During the backup, your VPS boots into Clonezilla: all your services are unavailable until the operation is complete and the VPS has restarted. Plan a maintenance window suited to the size of your disk.
Prerequisites
- An active VPS plan in your client area
- External storage space on Windows, at least equal to the space used on the VPS disk (ideally greater than or equal to the total disk size)
- SSH access to this Windows host (recommended)
- A good Internet connection (fiber preferably)
- Patience: depending on the disk size, the operation can take a while
This tutorial was written with Windows 11 and Clonezilla Live 3.3.3-15 (September 2026).
Prepare the Windows host
Clonezilla sends the VPS image to your Windows computer through an SSH server. Before you start:
-
Install and start the OpenSSH server on the Windows computer (PowerShell as administrator):
Add-WindowsCapability -Online -Name OpenSSH.Server~~~~0.0.1.0Start-Service sshdSet-Service -Name sshd -StartupType Automatic -
Allow the SSH port in the Windows firewall (22 by default). If possible, restrict access to the IP address of your VPS:
New-NetFirewallRule -Name sshd -DisplayName "OpenSSH Server (sshd)" -Enabled True -Direction Inbound -Protocol TCP -Action Allow -LocalPort 22 -RemoteAddress YOUR_VPS_IP -
If the computer is behind an ISP box or a router, forward an external TCP port to the SSH port of the computer. In the screenshots of this guide, the external port
2222is used. -
Create the folder that will receive the image, for example
C:\Users\Eric\vps2026. -
Use a Windows account protected by a password: Clonezilla authenticates with it.
Procedure
Step 1: note the VPS network information
Clonezilla can retrieve the network configuration automatically: when it asks you for the network configuration mode, choose DHCP, there is no need to enter it manually. Still, note this information: you will need it if DHCP fails (see Troubleshooting).
Before you start, on your VPS, run the following command:
ip a
Locate the main network interface (for example ens18) and its inet line. In the example below:
inet 203.0.113.25 peer 203.0.113.1/32
note the following information:
- VPS IP:
203.0.113.25 - Netmask:
255.255.255.255(corresponding to/32) - Gateway:
203.0.113.1
The gateway is generally the address shown after peer. It is often obtained by replacing the last number of the IP address with .1, but this value may vary depending on the VPS configuration.
Do not use the 127.0.0.1 address of the lo interface: use the inet address of the main network interface.
Step 2: add the Clonezilla ISO
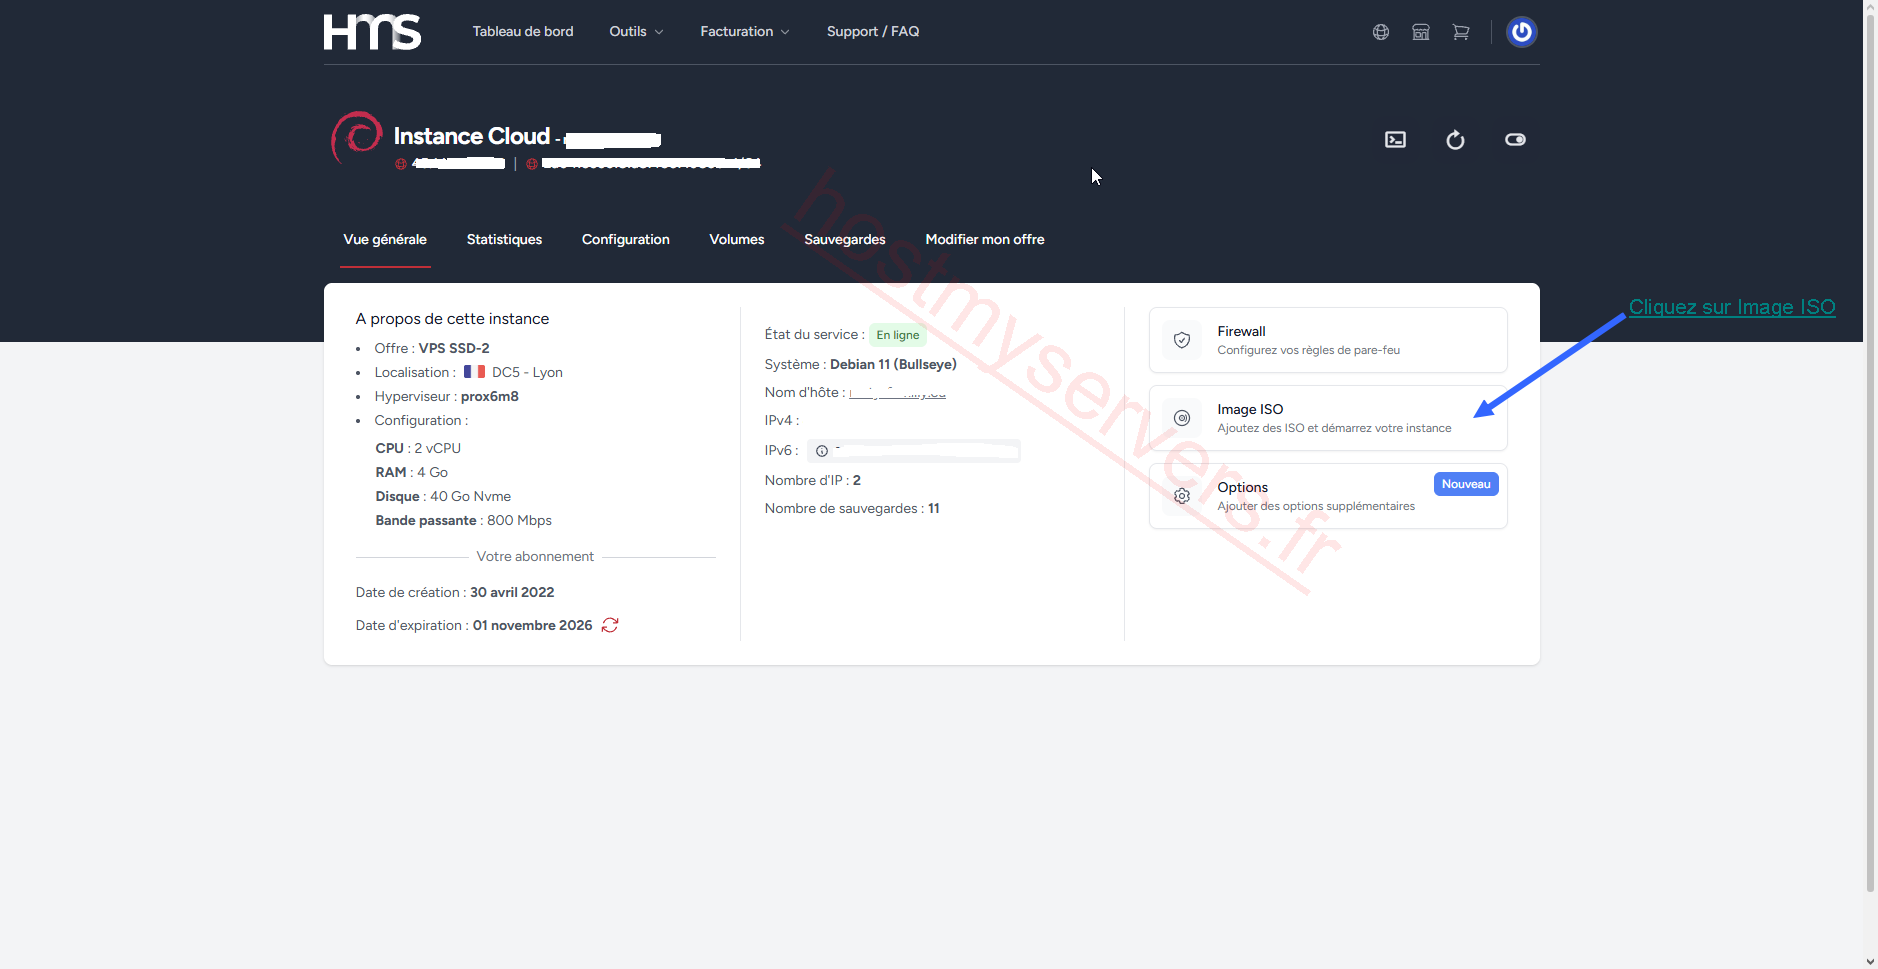
Log in to your HostMyServers client area, select your instance then, in the Vue générale (Overview) tab, click Image ISO (ISO image).
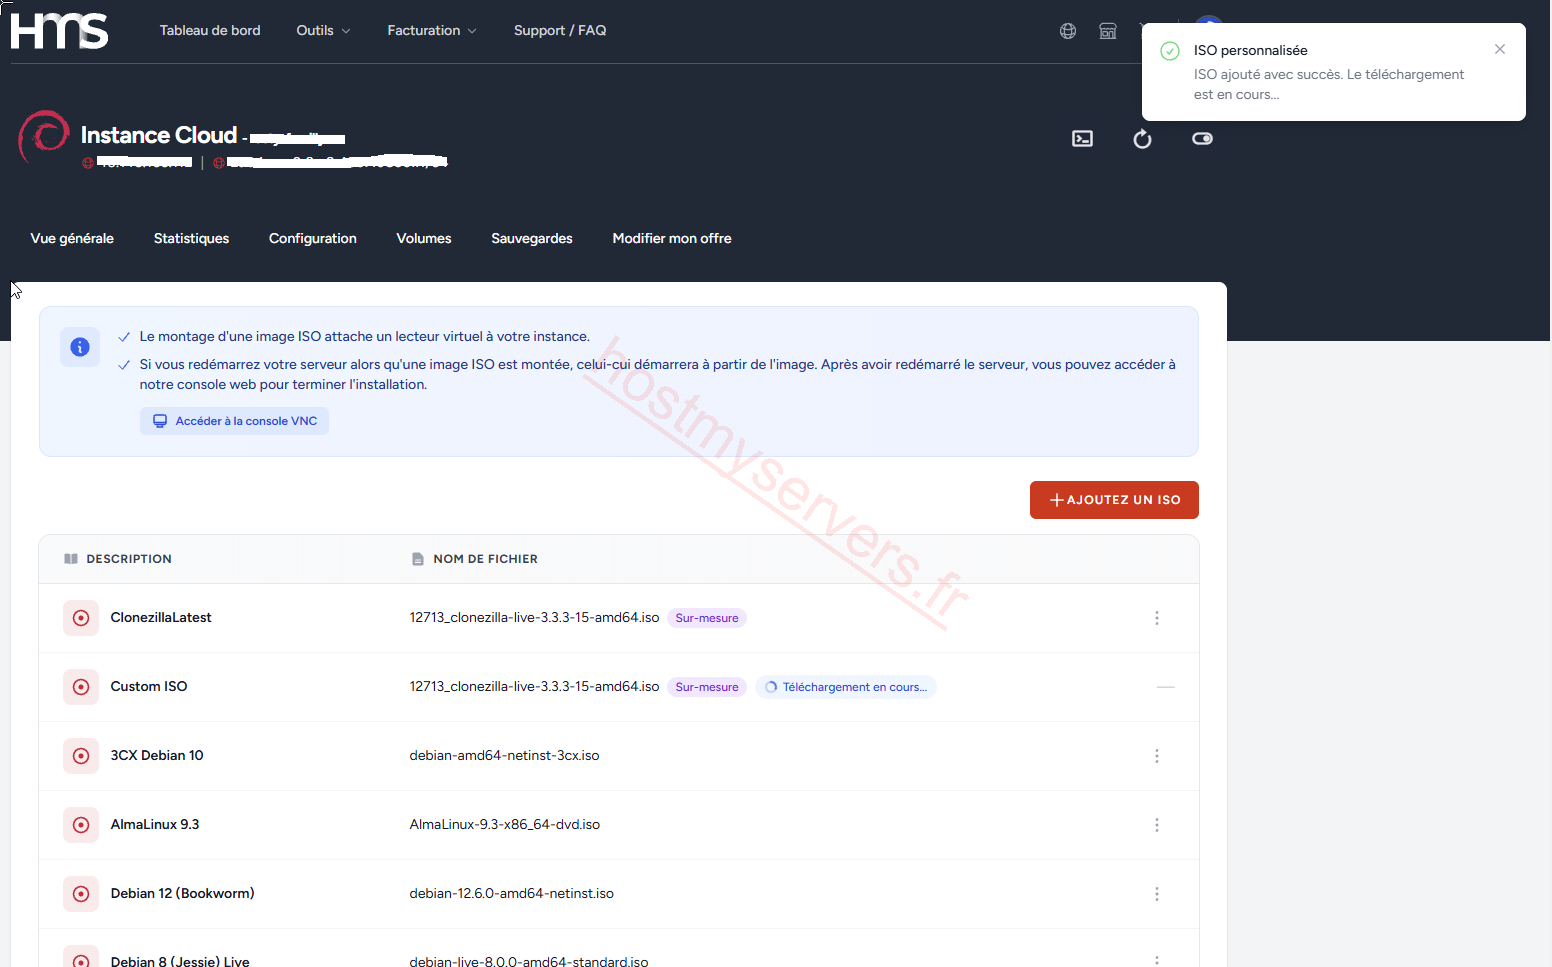
Click Ajoutez un ISO (Add an ISO), then in the Télécharger l'URL (Download URL) field, copy/paste this link:
https://unlimited.dl.sourceforge.net/project/clonezilla/clonezilla_live_stable/3.3.3-15/clonezilla-live-3.3.3-15-amd64.iso
This is the latest stable version of Clonezilla (3.3.3-15) at the time of writing this guide.
Click the Ajouter (Add) button 
Wait while the ISO downloads: the « Téléchargement en cours… » (Download in progress…) status disappears when it is done.
Step 3: mount the ISO
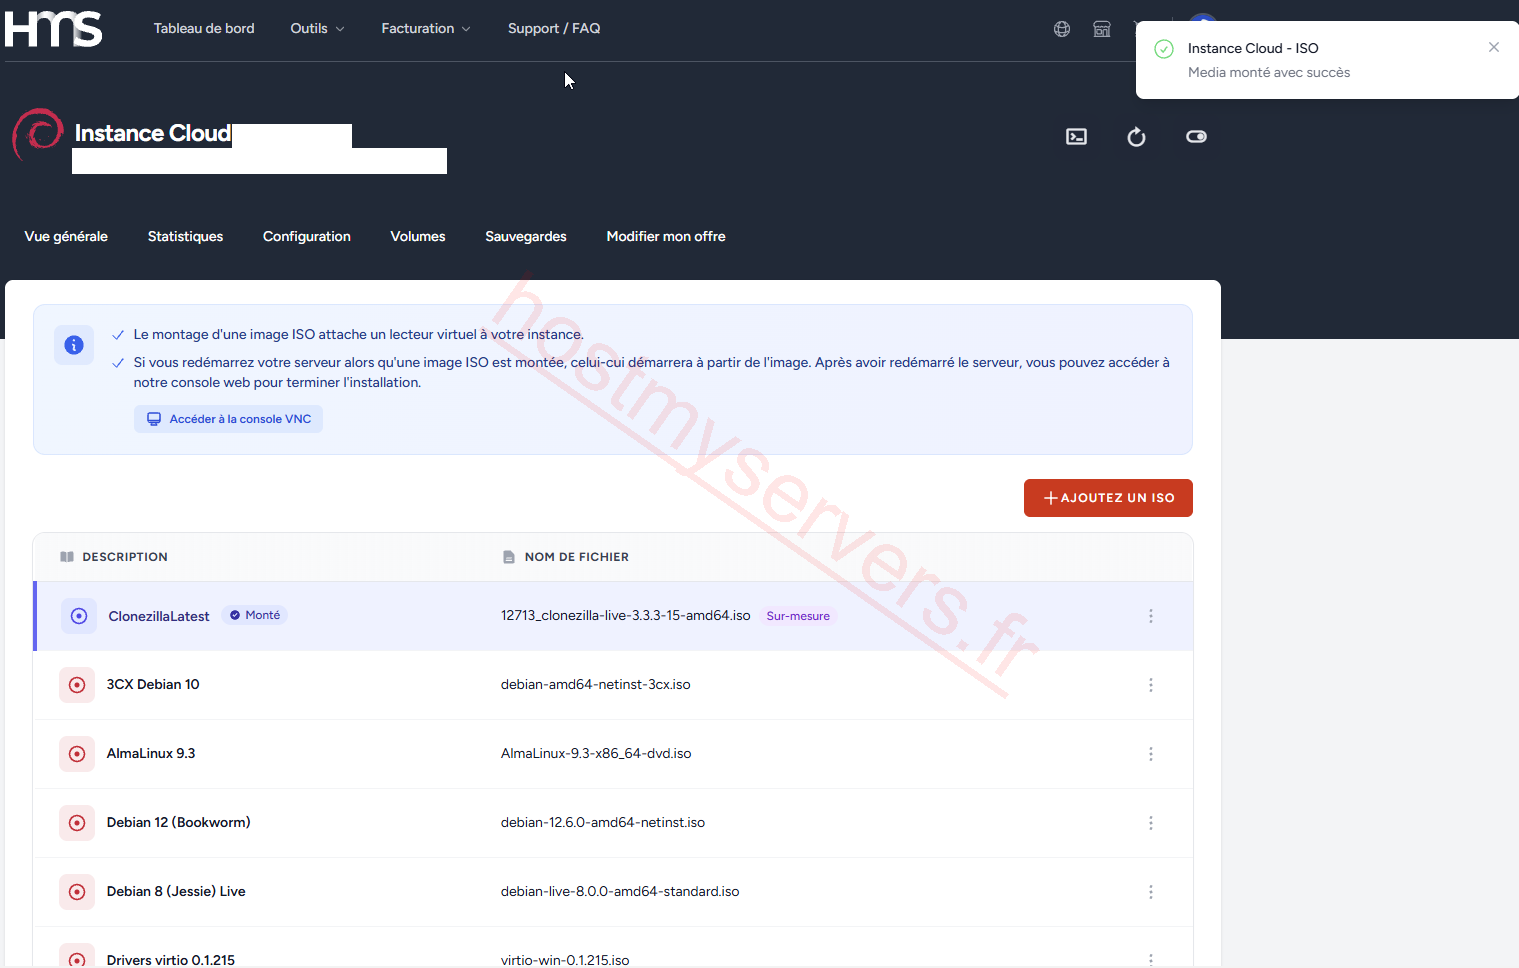
Click the three small dots on the Clonezilla ISO row and select Monter (Mount).

When you mount an ISO image on a running instance, it does not boot from the ISO immediately. However, if you restart your VPS, it will boot from the mounted ISO and all your services will be temporarily unavailable.
Check that the ISO is displayed with the Monté (Mounted) status.
Step 4: restart the VPS on the ISO
Restart your VPS with the restart icon at the top right of the instance page, then confirm the operation.
Step 5: open the VNC console
Once your VPS has restarted, click Accéder à la console VNC (Access the VNC console) and choose NoVNC Console graphique (NoVNC graphical console).
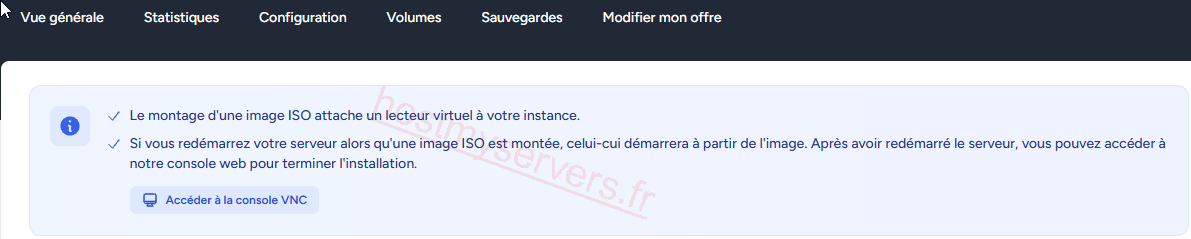
Confirm by clicking Ok, then Connecter (Connect) 
Step 6: start Clonezilla
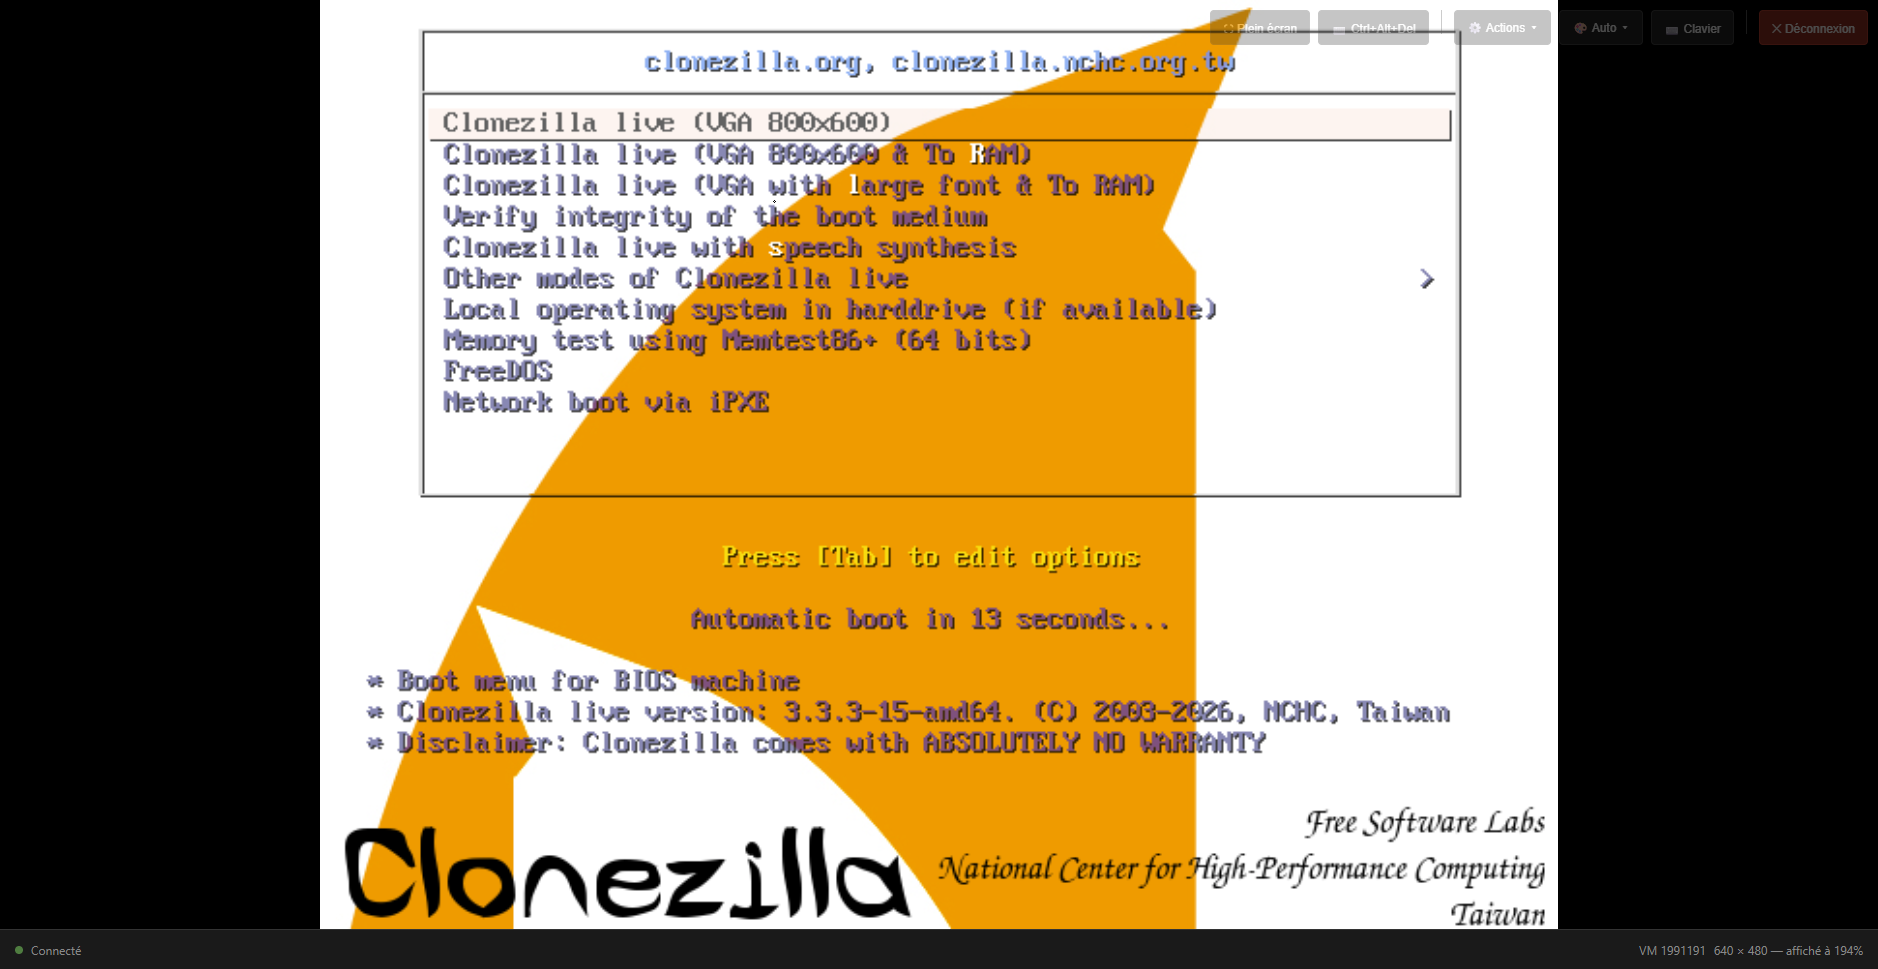
You are now in Clonezilla. Select the first choice, Clonezilla live (VGA 800x600): if you do nothing within the allotted time, Clonezilla starts by itself in this mode, so don't worry!
Step 7: choose the language and keyboard
The screenshots below show the configuration for a French AZERTY keyboard. Navigate with the keyboard arrows, confirm with Enter.
-
Langue (Language): select
fr_FR.UTF-8 French | Français.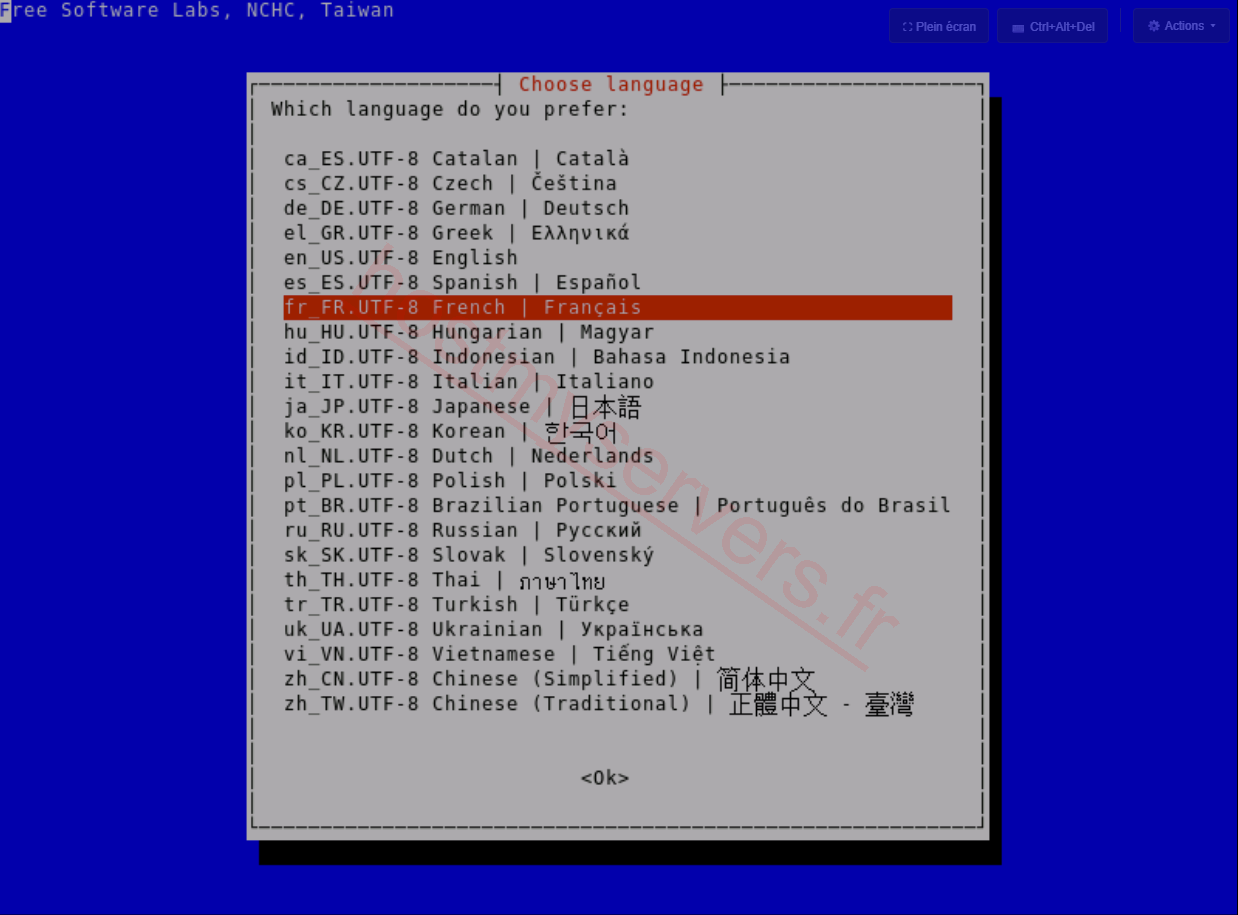
-
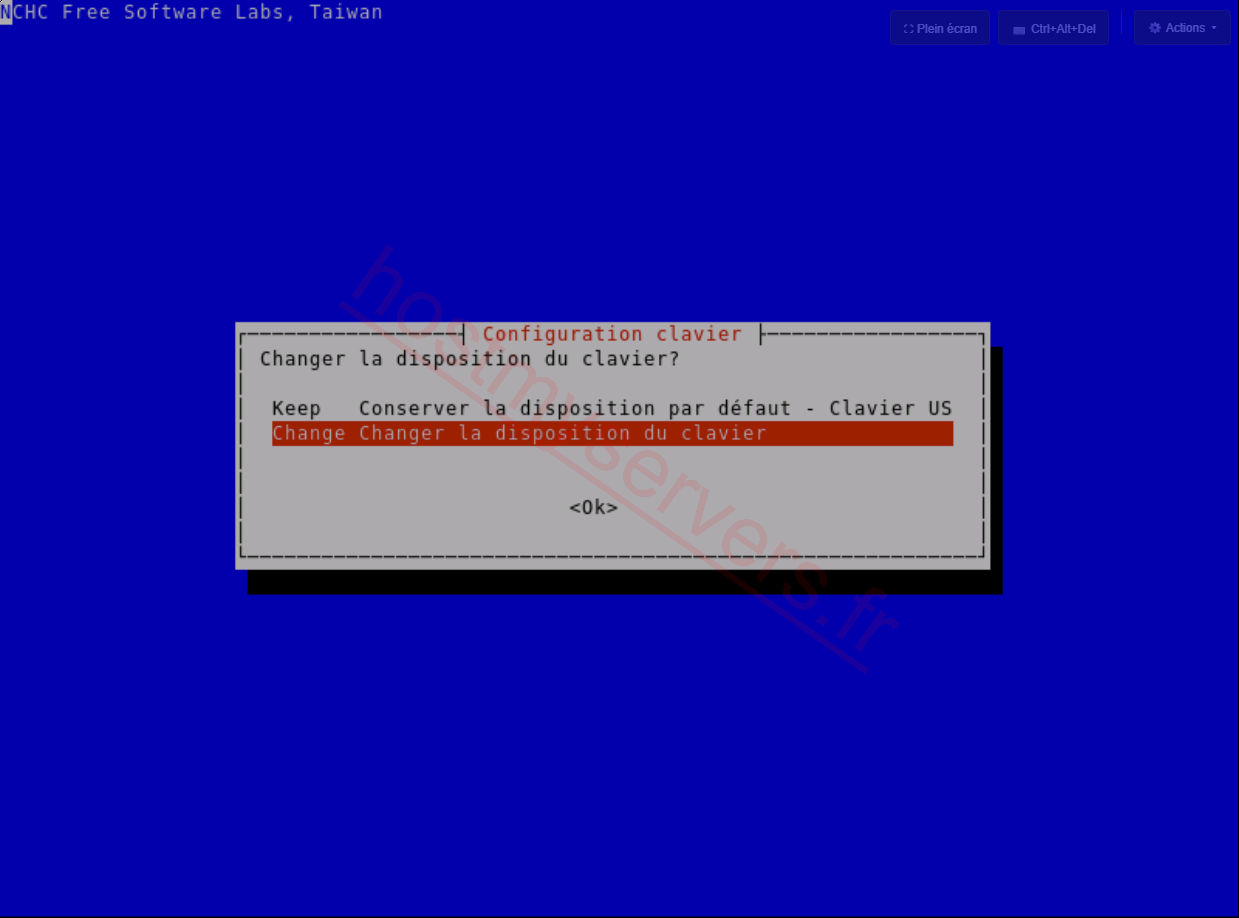
Configuration clavier (Keyboard configuration): choose Change (change the keyboard layout).
-
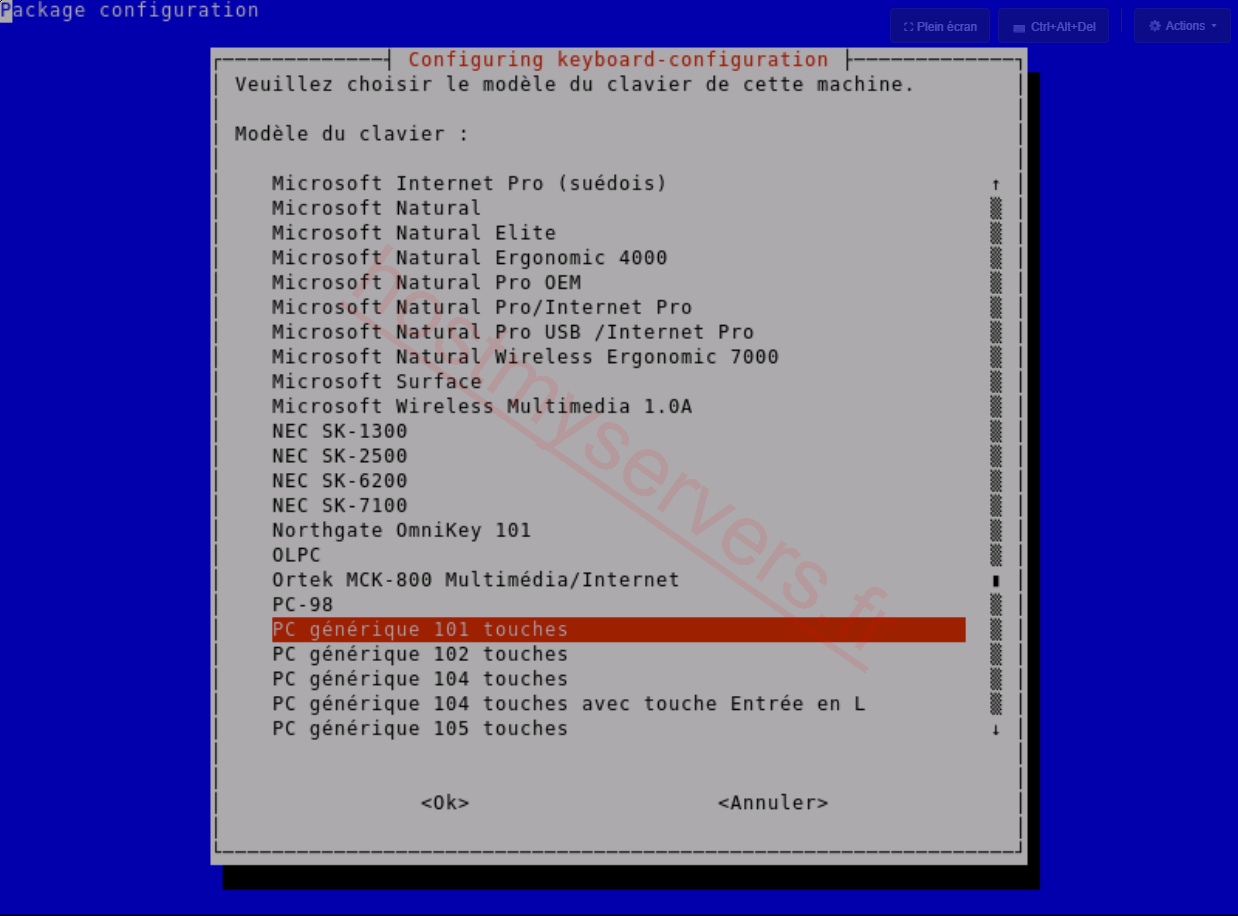
Modèle du clavier (Keyboard model): select the model of your keyboard (for example « PC générique 105 touches » (Generic 105-key PC) for a standard AZERTY keyboard).
-
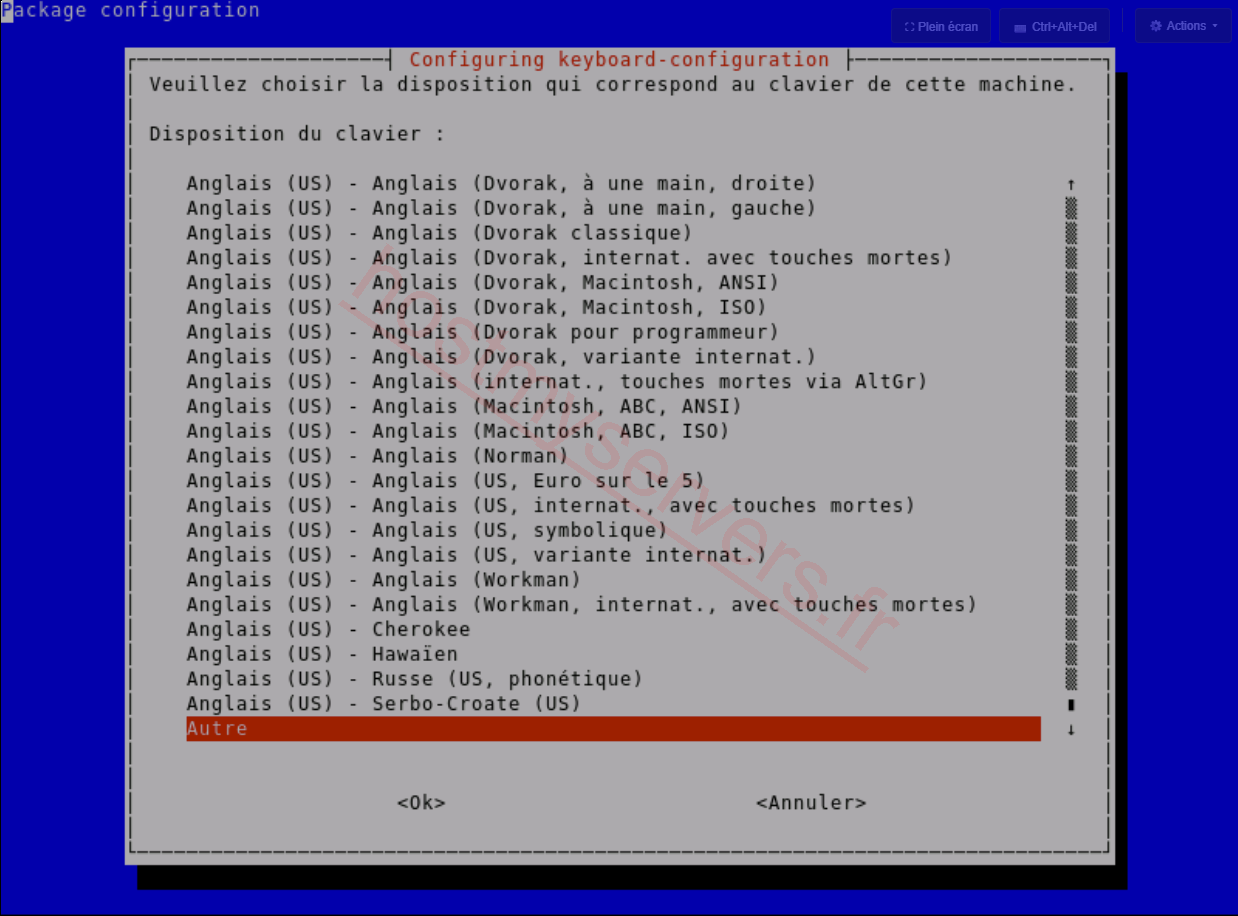
Disposition du clavier (Keyboard layout): scroll through the list and choose Autre (Other).
-
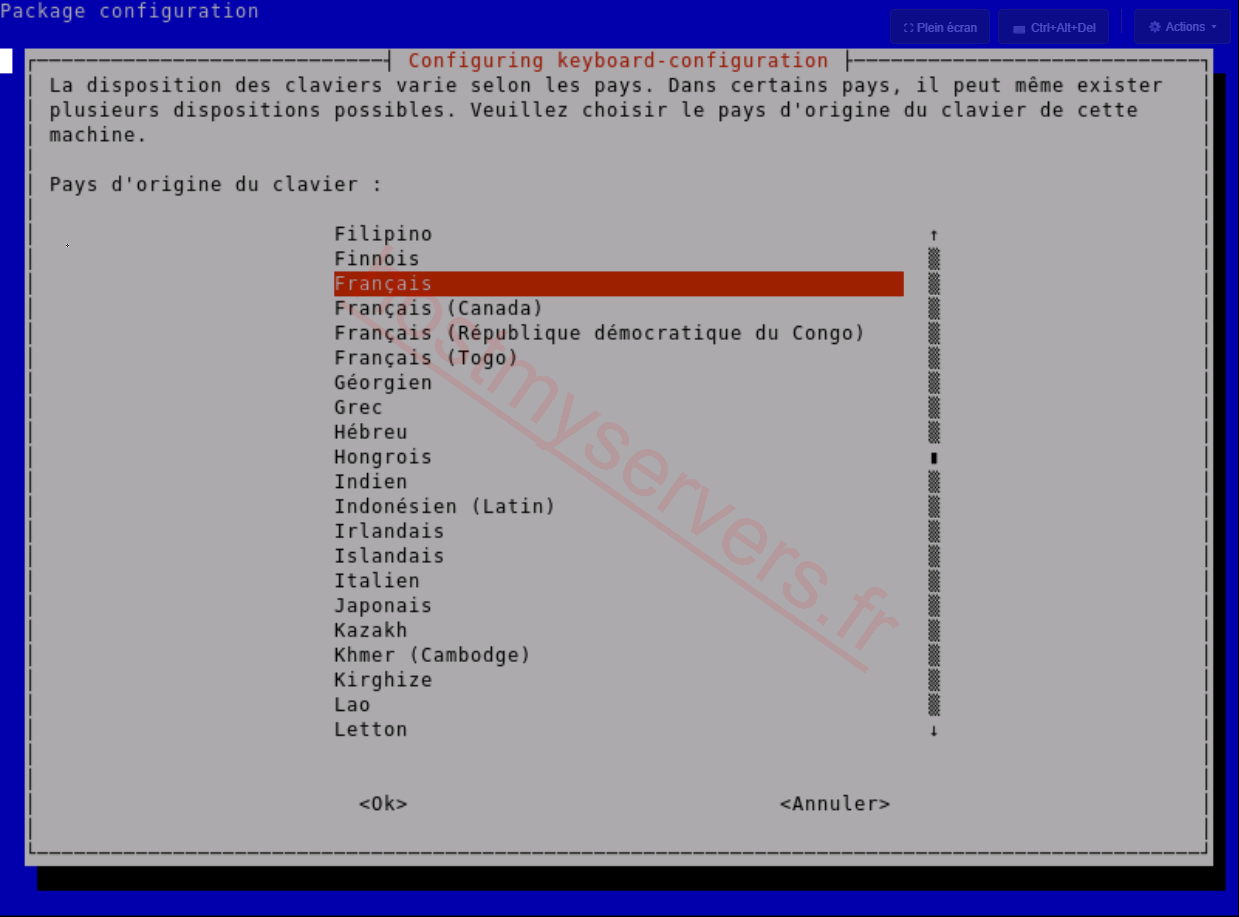
Pays d'origine du clavier (Keyboard country of origin): select Français (French).
-
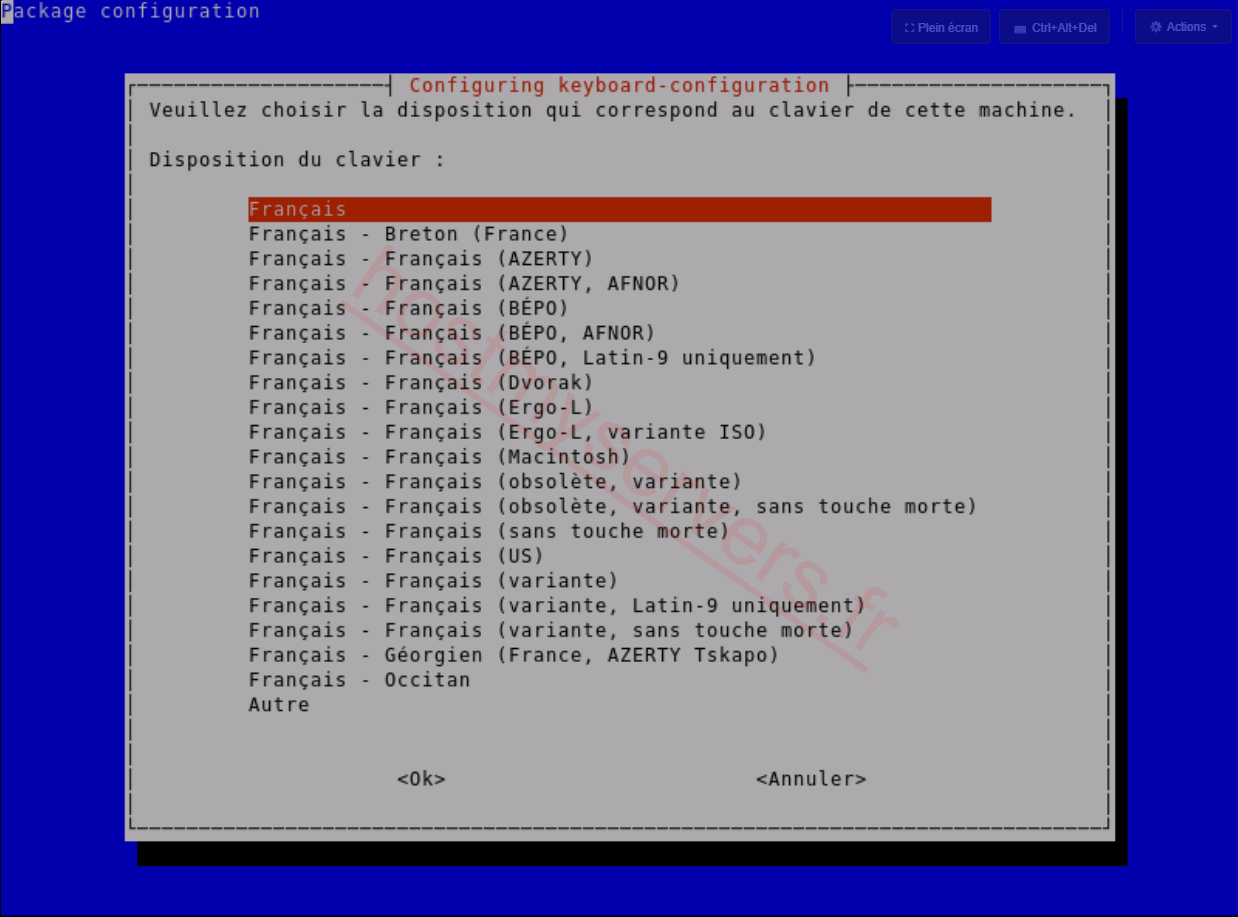
Disposition (Layout): select Français.
-
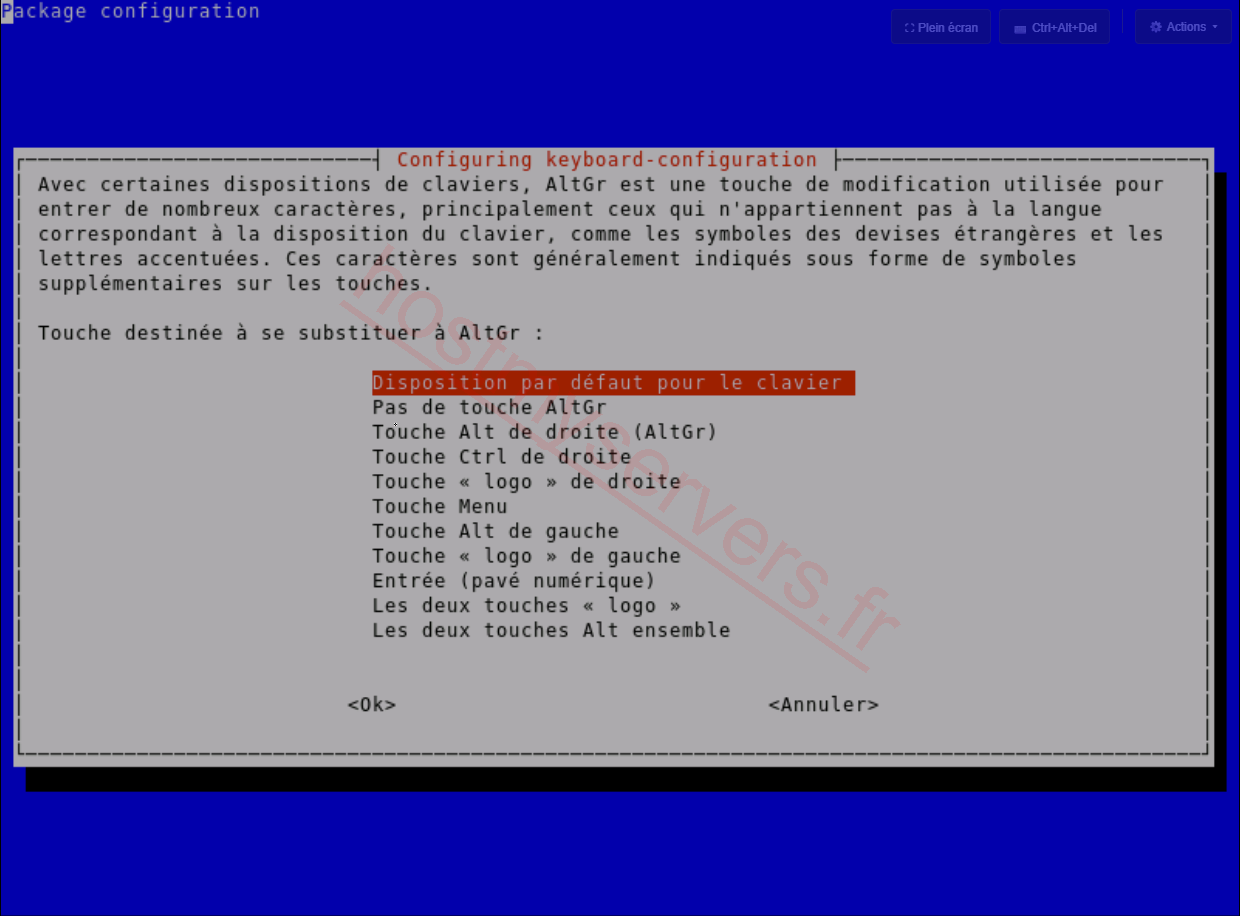
Touche AltGr (AltGr key): keep Disposition par défaut pour le clavier (Default layout for the keyboard).
-
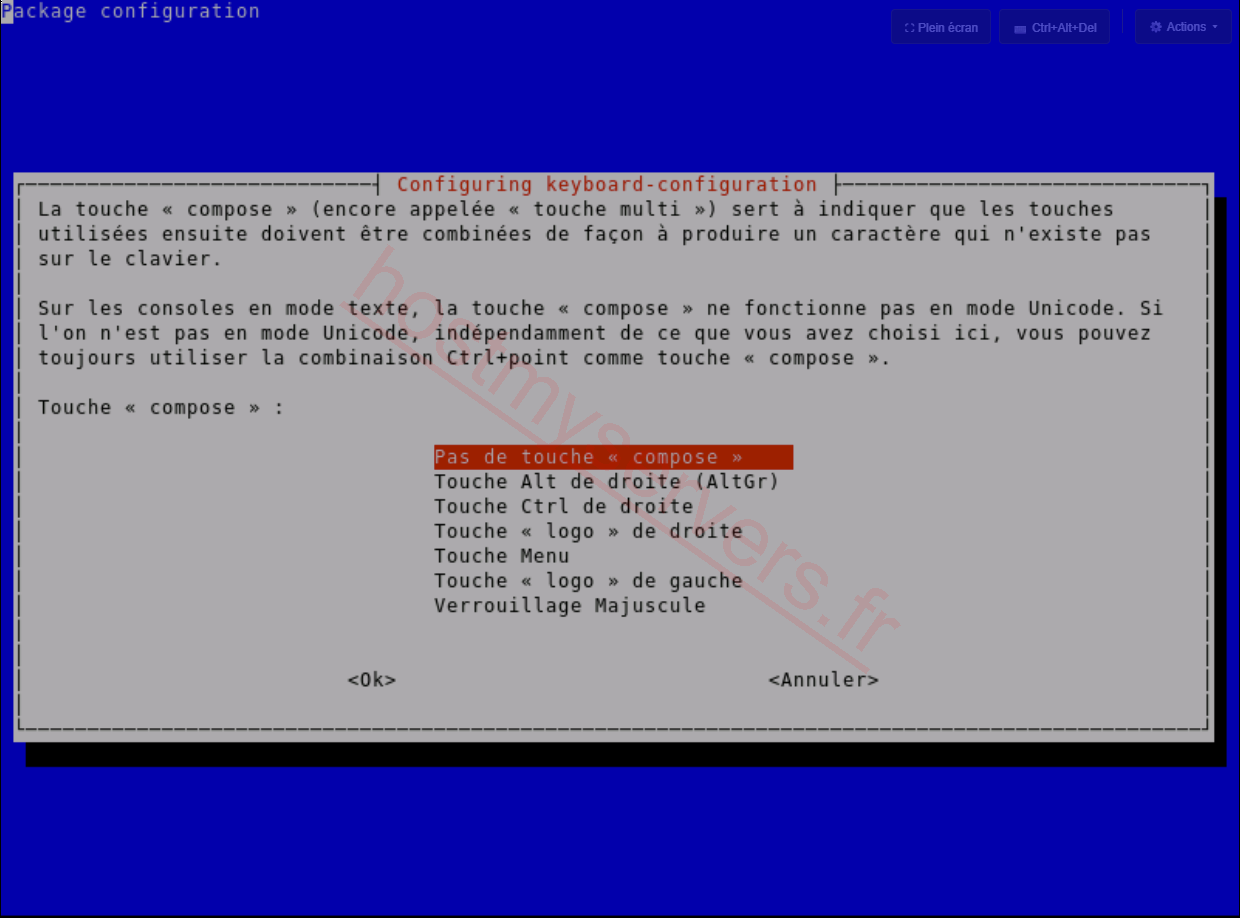
Touche « compose » (Compose key): keep Pas de touche « compose » (No compose key).
Step 8: specify where to save the image
In the menu that follows, select Start_Clonezilla, then:
- device-image (work with a disk or partition image);
- ssh_server (use an SSH server);
- network configuration: choose dhcp.
If you had to configure the network manually, do not restart Clonezilla afterwards under any circumstances: you would have to redo the whole IP address and routing configuration.
Clonezilla then asks you, step by step, for the details of your Windows host:
-
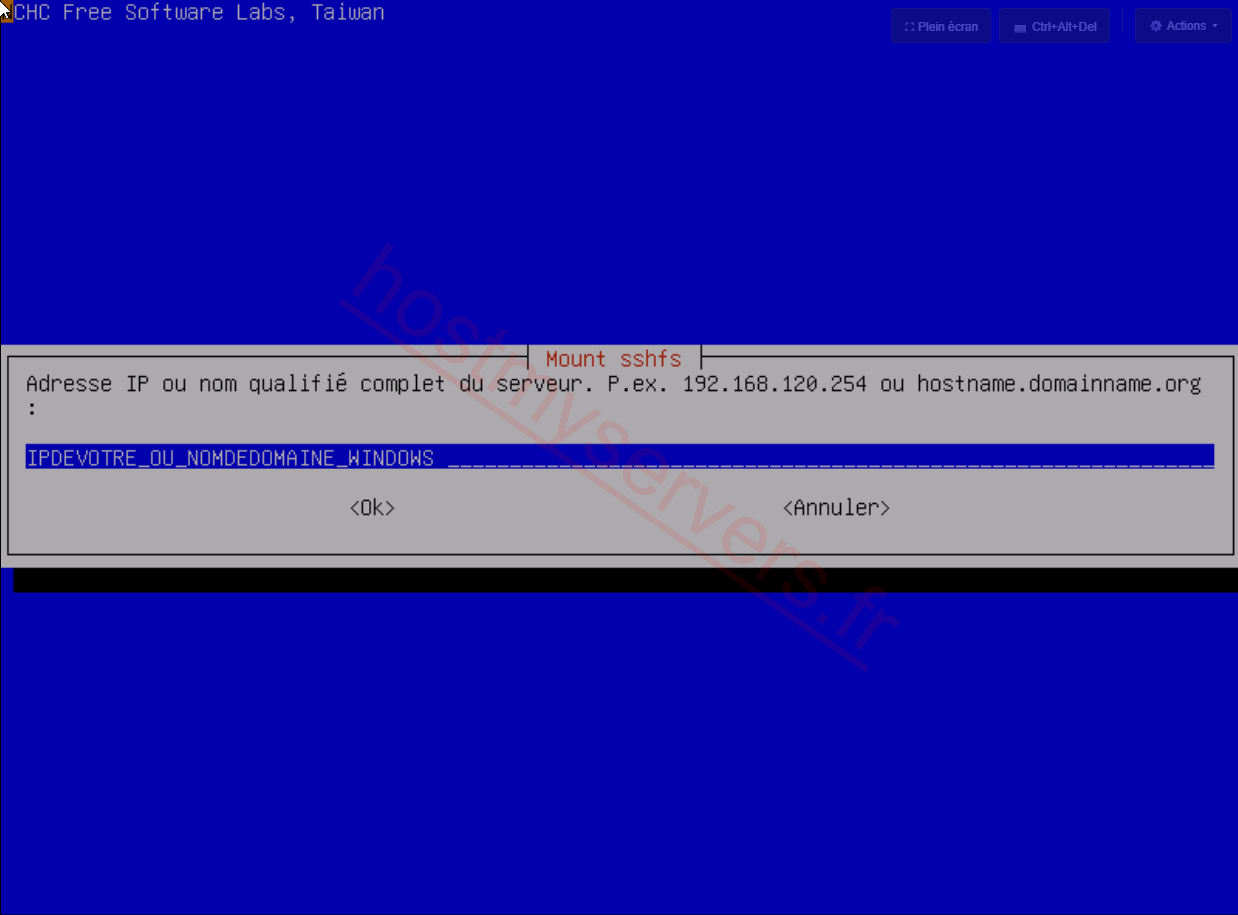
Adresse IP ou nom de domaine (IP address or domain name) of the Windows host.
-
Port du serveur SSH (SSH server port): 22 by default, or the port you forwarded (
2222in our example). -
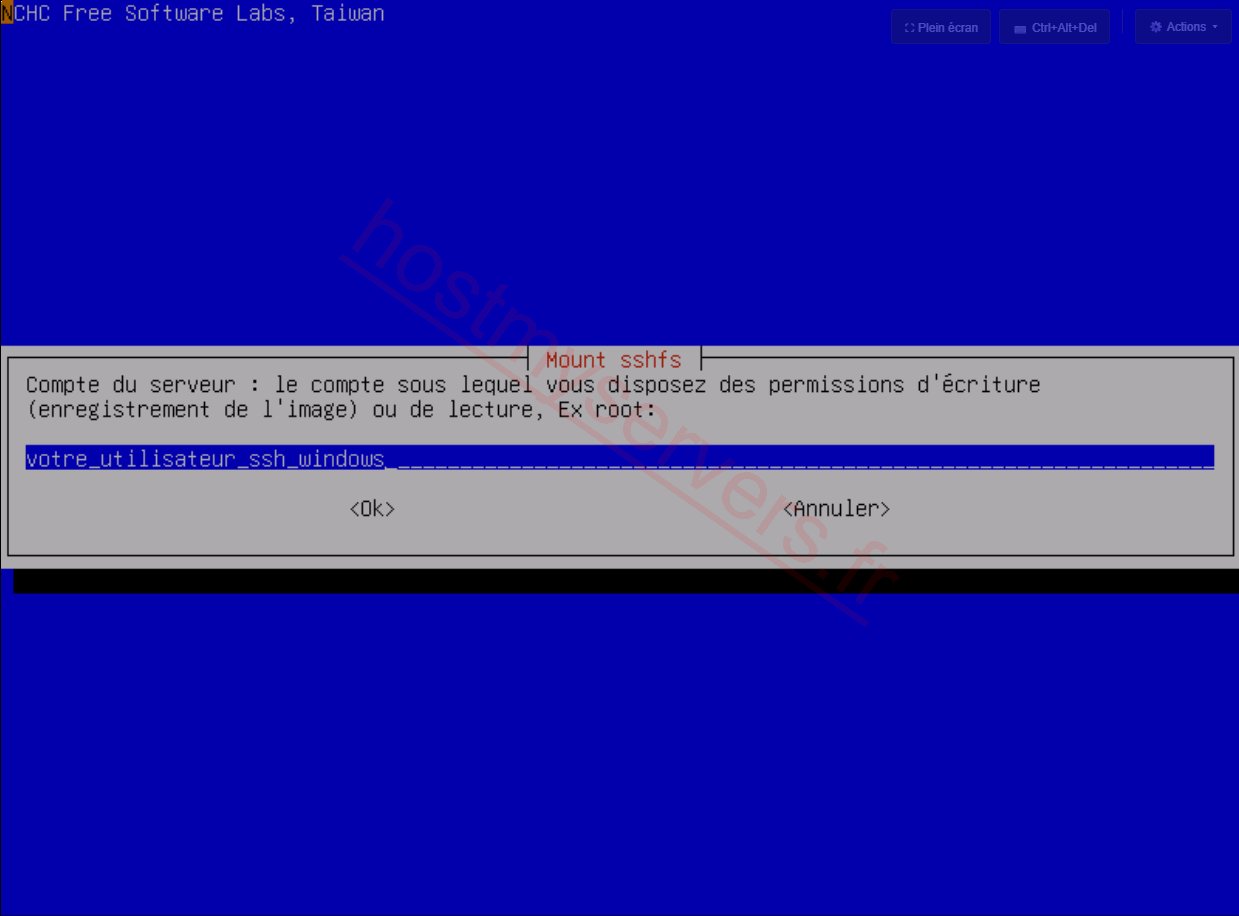
Compte du serveur (Server account): the Windows user who has write permissions on the destination folder.
-
Répertoire (Directory) in which the image will be written.
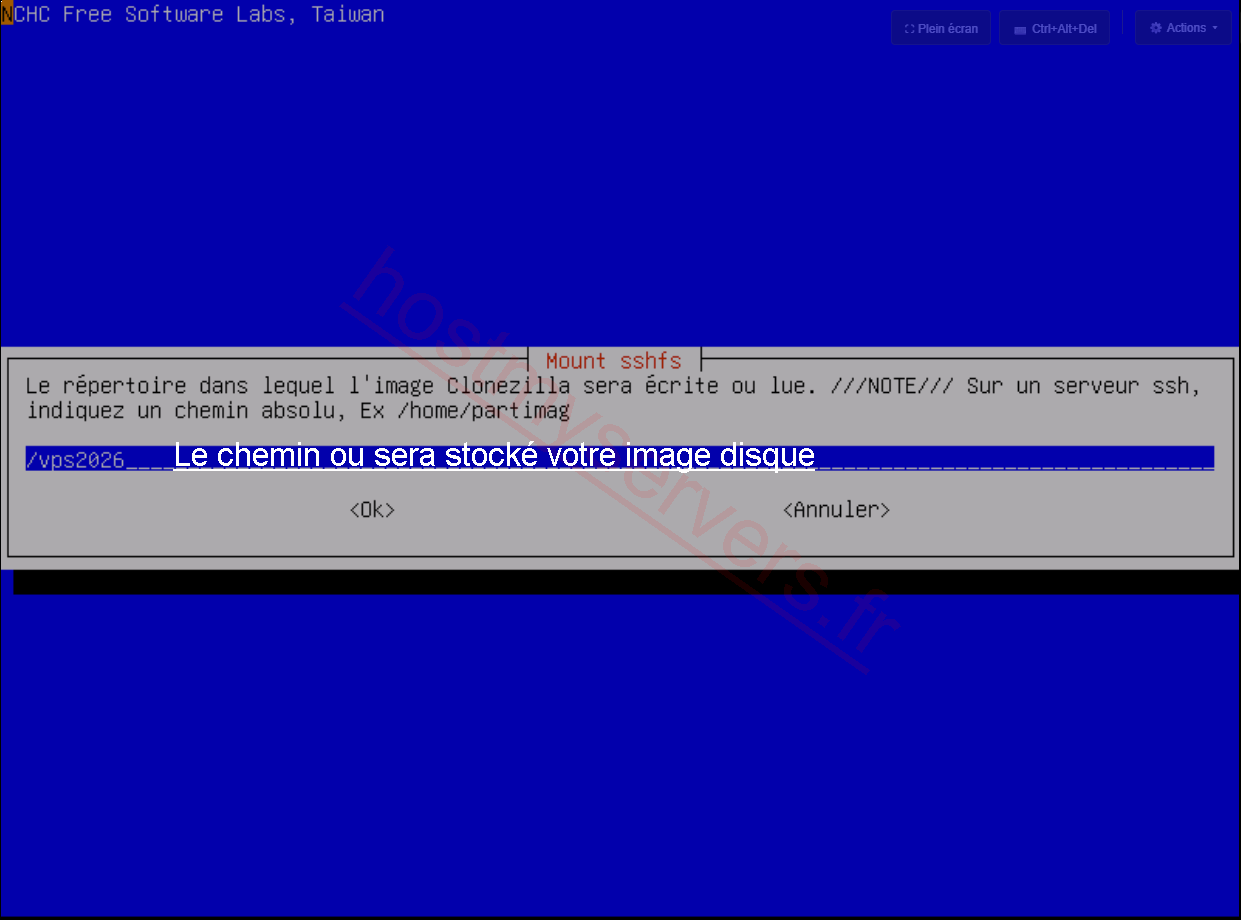 Enter the full path
The path must be complete: in our example, enter
/C:\Users\Eric\vps2026(and not/vps2026, as the screenshot above incorrectly shows).
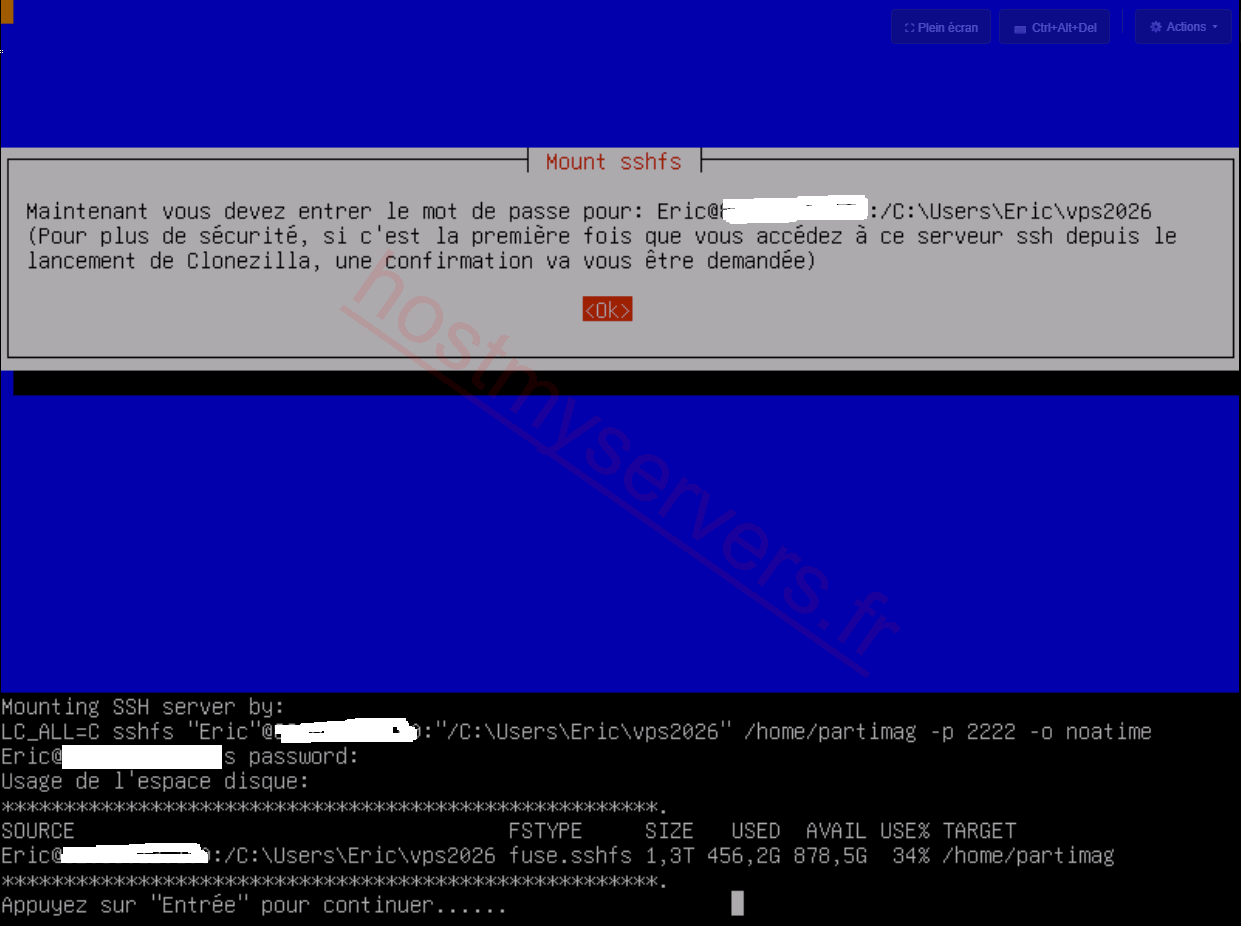
Clonezilla then displays a message asking for the account password. Confirm with Ok.
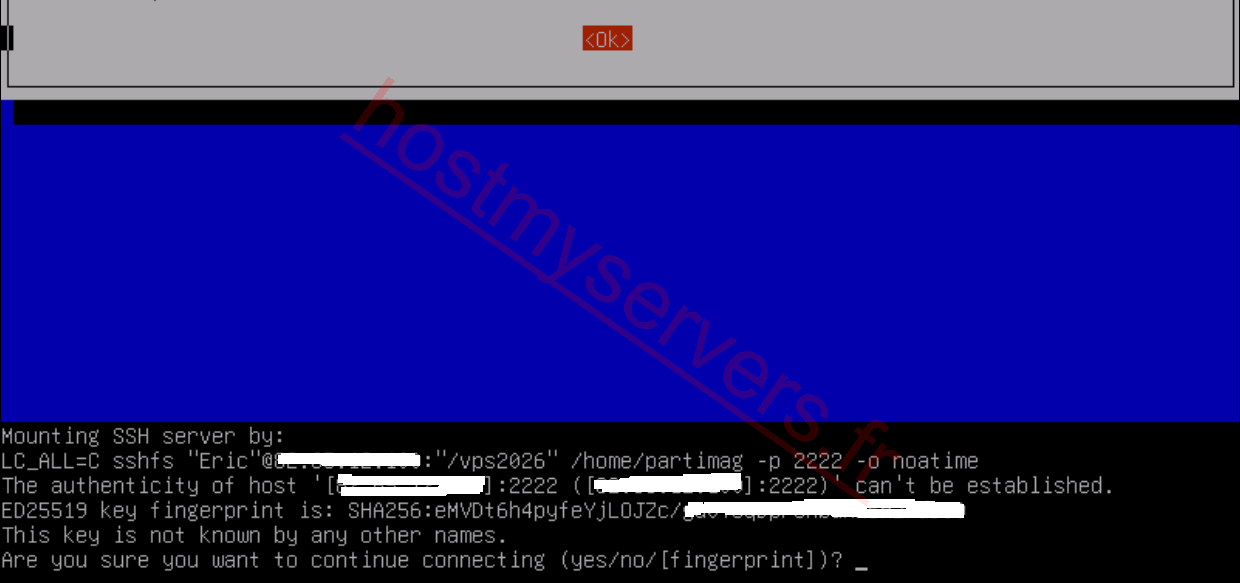
On the first connection to this SSH server, a confirmation is requested: check the key fingerprint, then type yes and confirm with Enter.
Enter the password of the Windows account. The remote folder is then mounted in /home/partimag: check that the fuse.sshfs line appears in the disk space usage table, then press Enter.
Step 9: choose the backup mode and options
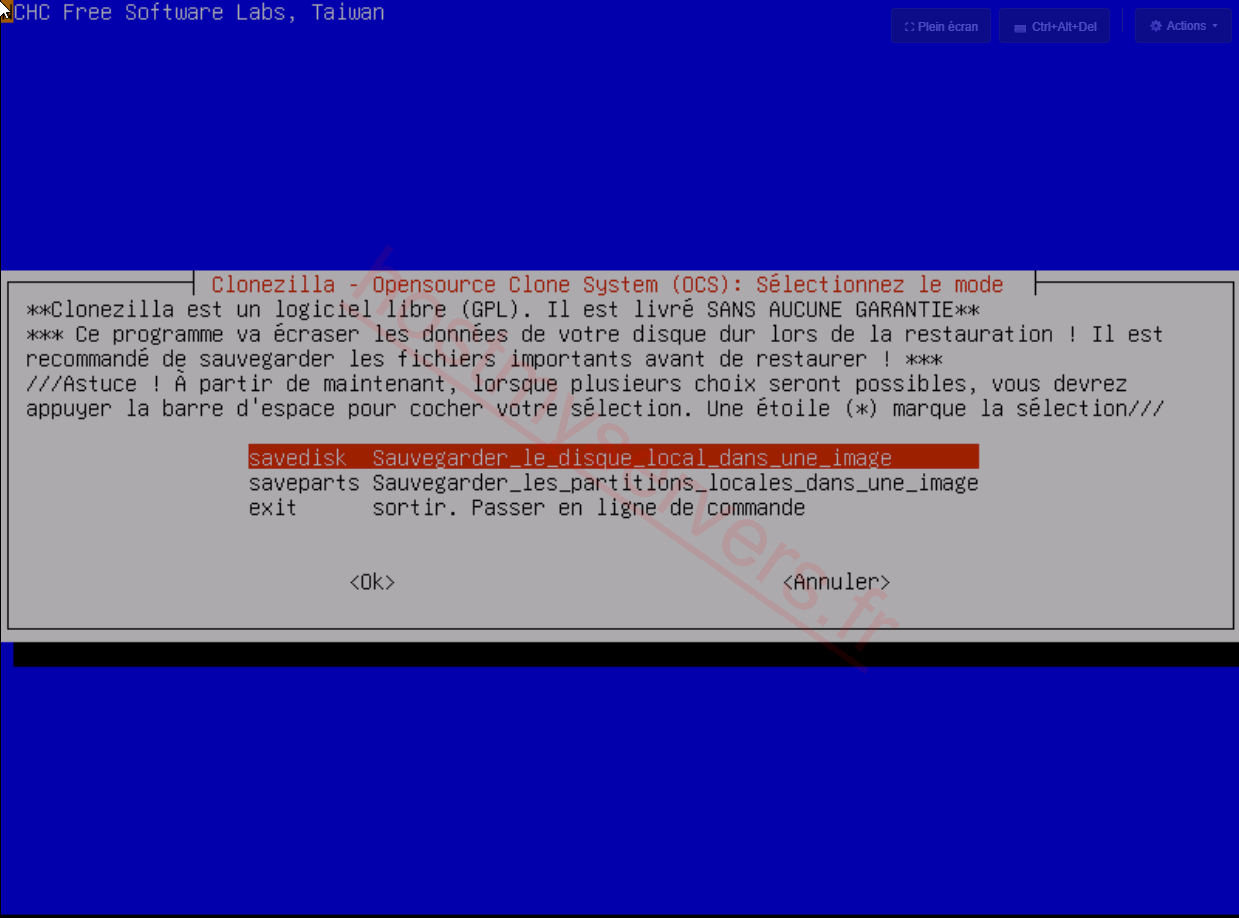
Choose the Beginner mode, then select savedisk (save the local disk to an image).
Clonezilla then asks you several questions:
-
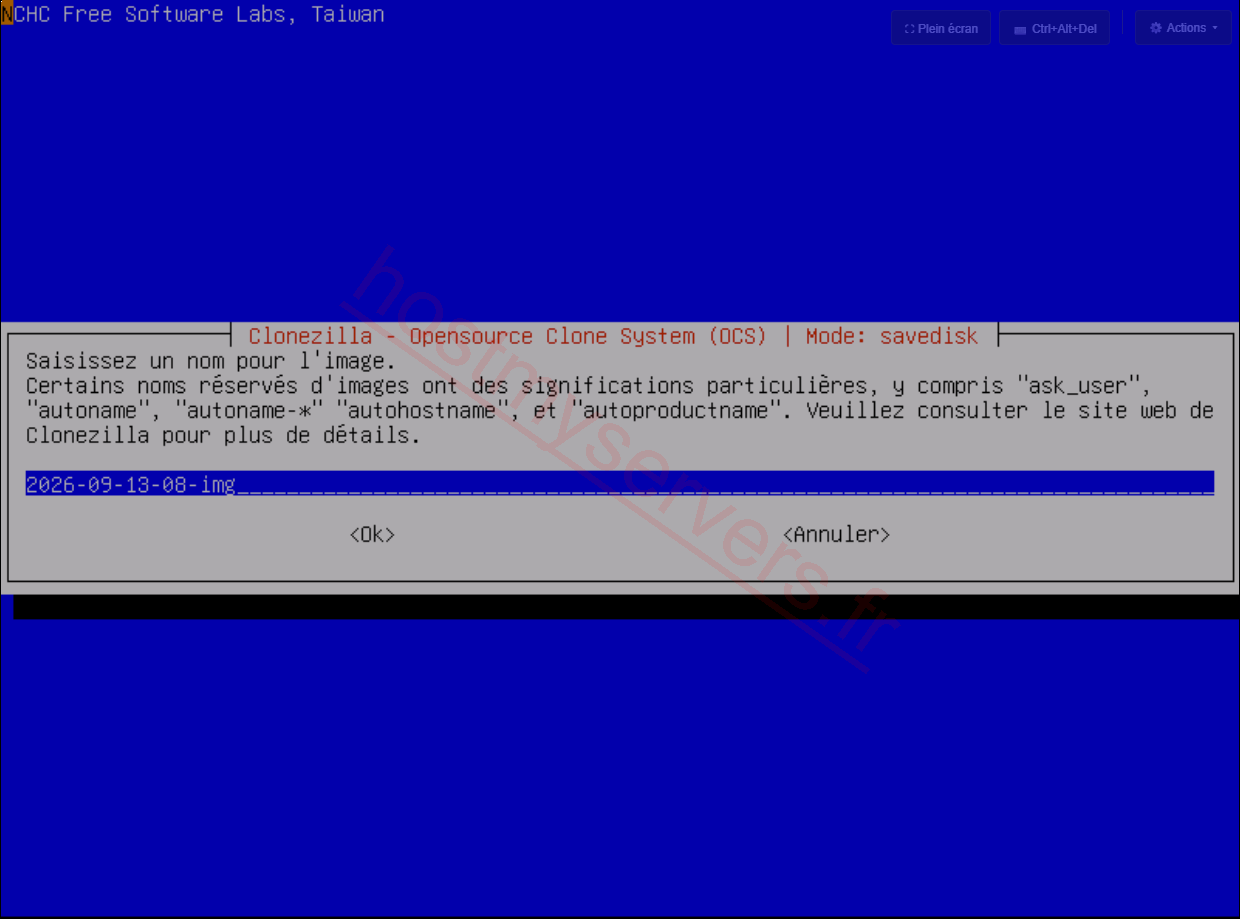
Nom de l'image (Image name): keep the proposed name (date and time) or enter an explicit name, avoiding spaces and special characters.
-
Disque source (Source disk): check that your VPS disk (
sdain the example) is ticked[*](space bar to tick or untick).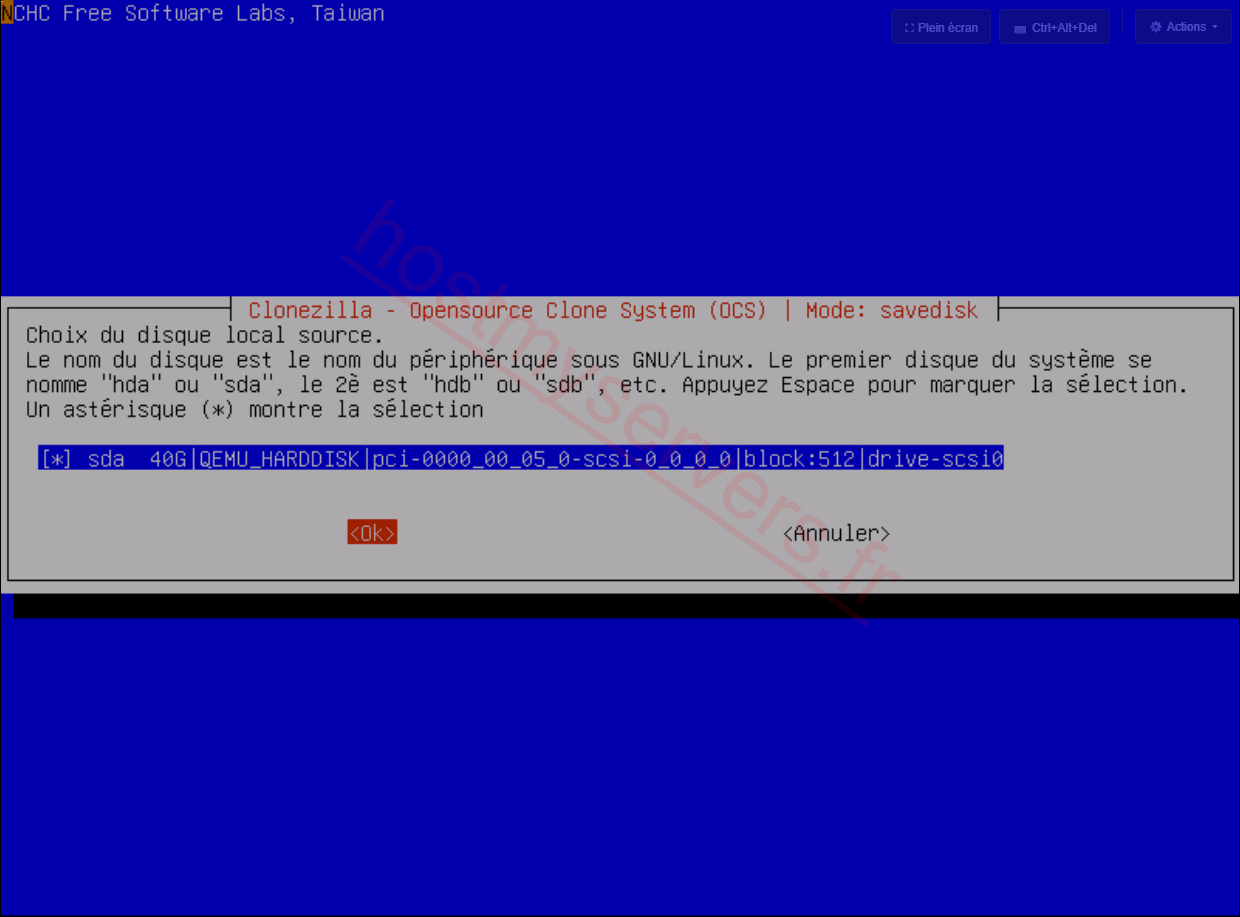
-
Méthode de compression (Compression method): if you do not know which one to choose, keep the default proposal (
-z1p).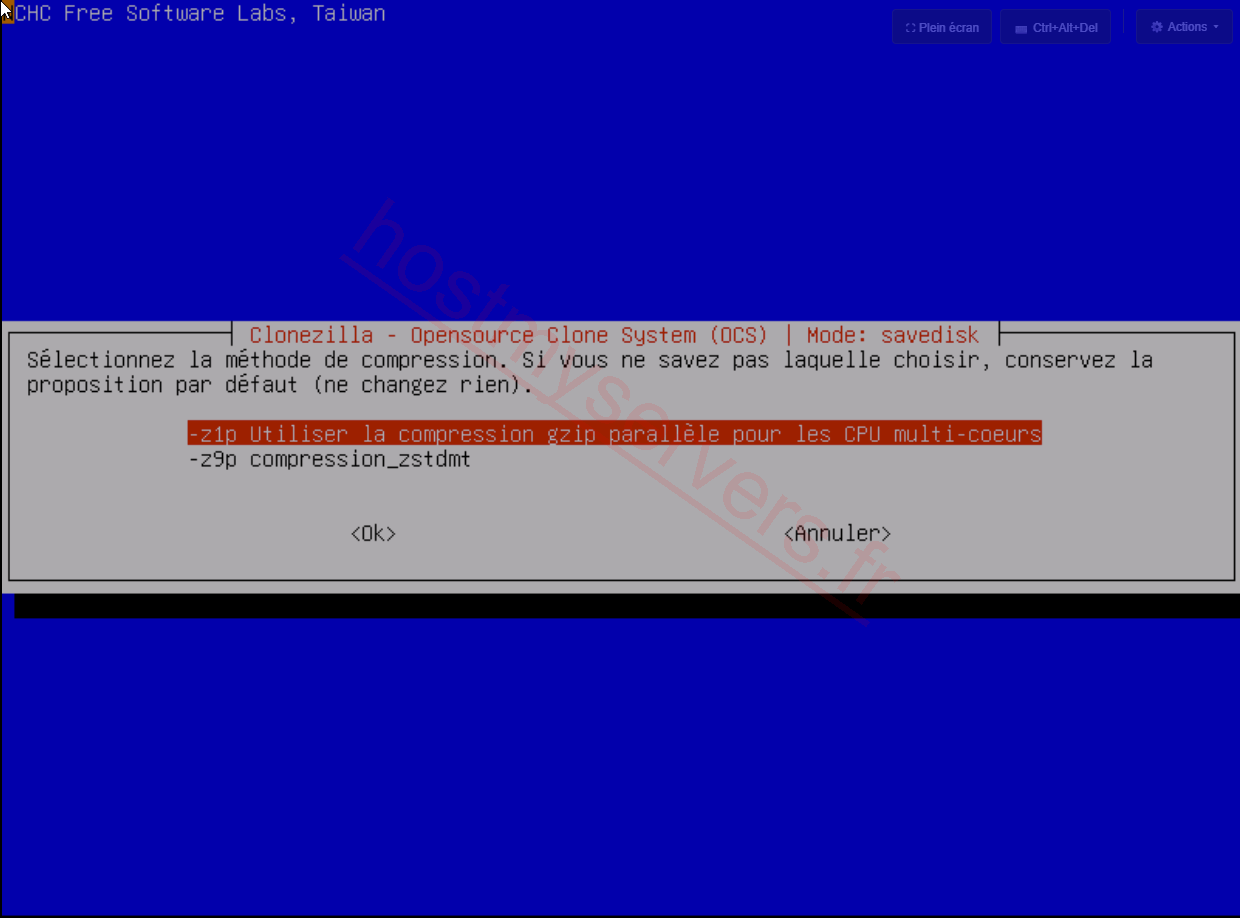
-
Vérification du système de fichiers (Filesystem check): we recommend checking and repairing the filesystem before the backup (
-fsck).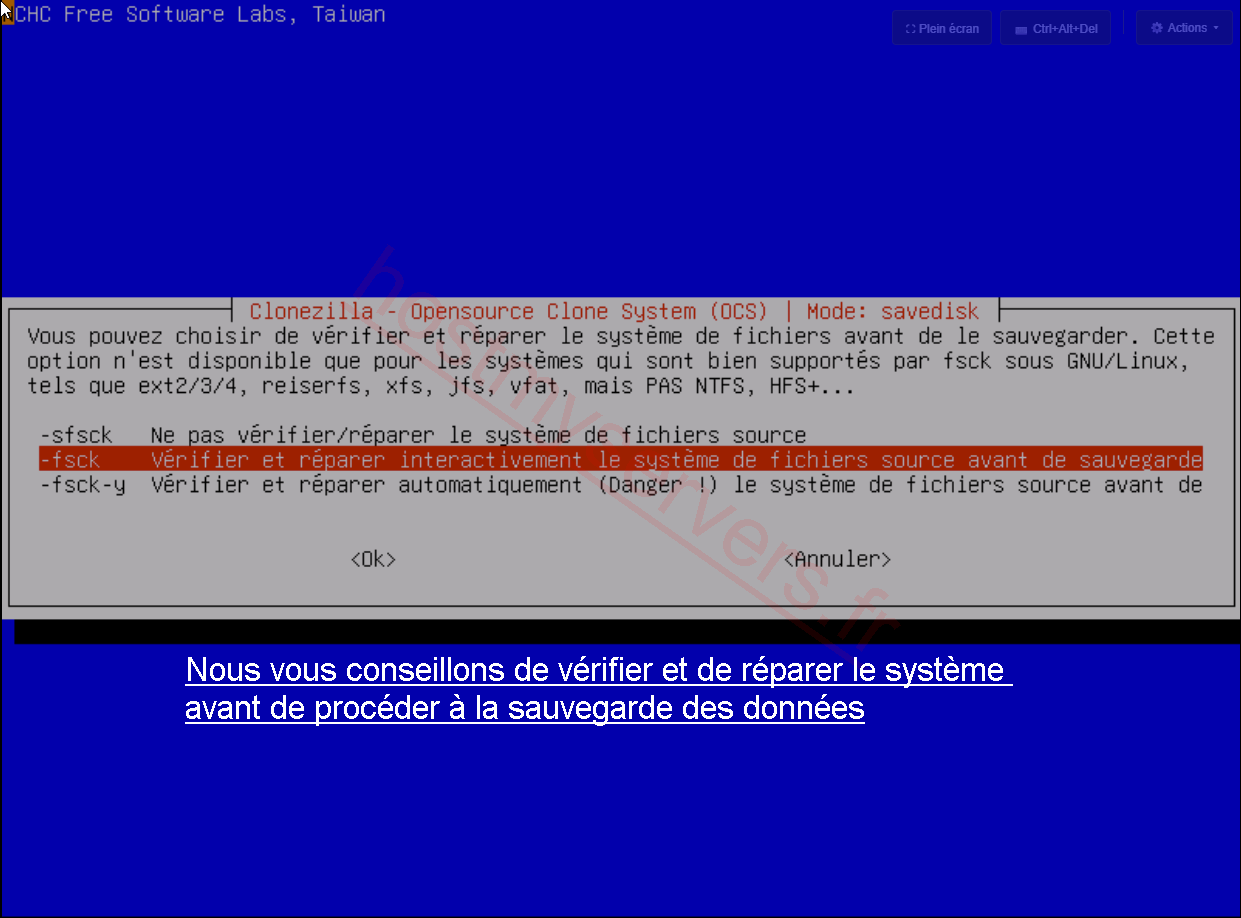
-
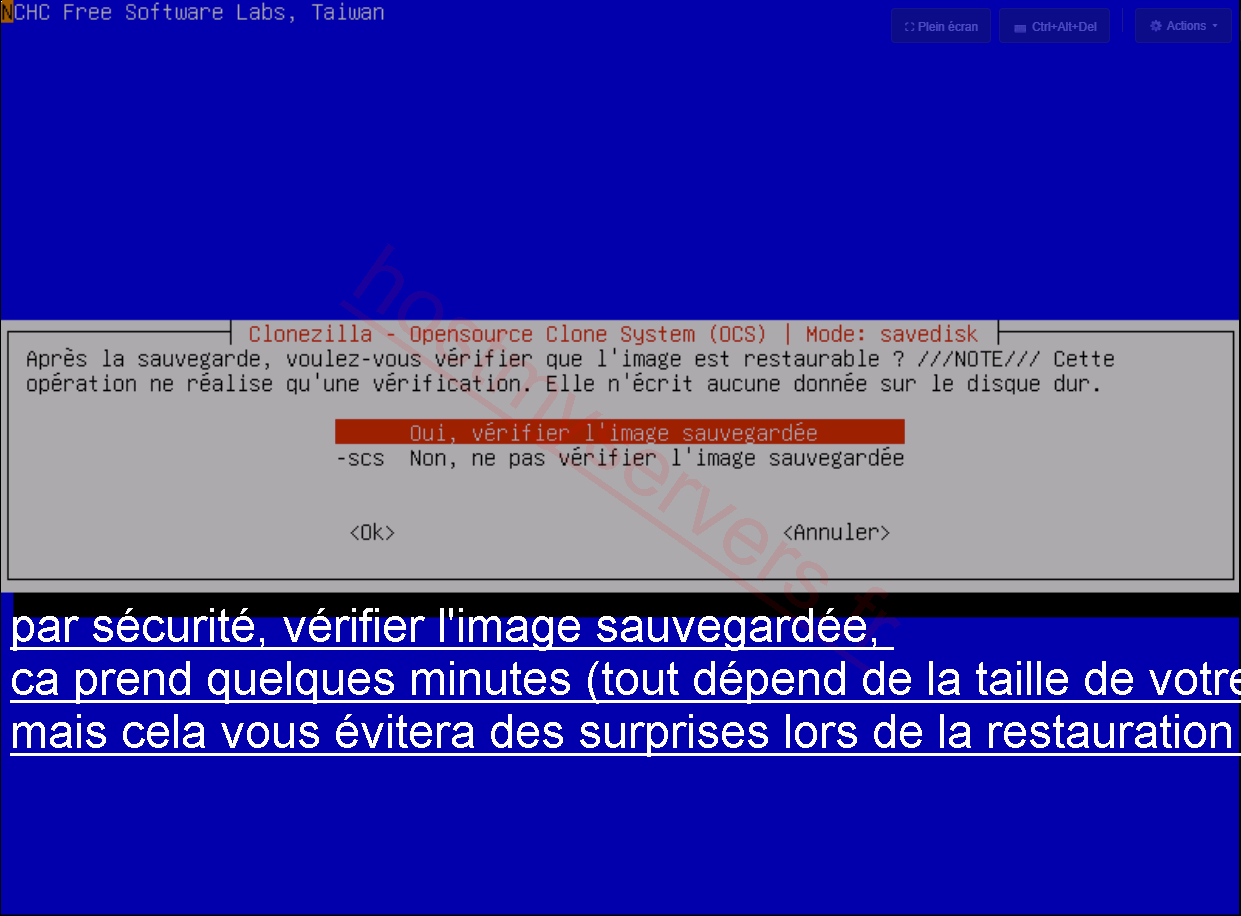
Vérification de l'image après la sauvegarde (Image check after the backup): to be safe, choose Oui, vérifier l'image sauvegardée (Yes, check the saved image). It takes a few minutes (depending on the size of your disk) but will spare you surprises during the restoration.
-
Chiffrement de l'image (Image encryption): you can encrypt the image or not.
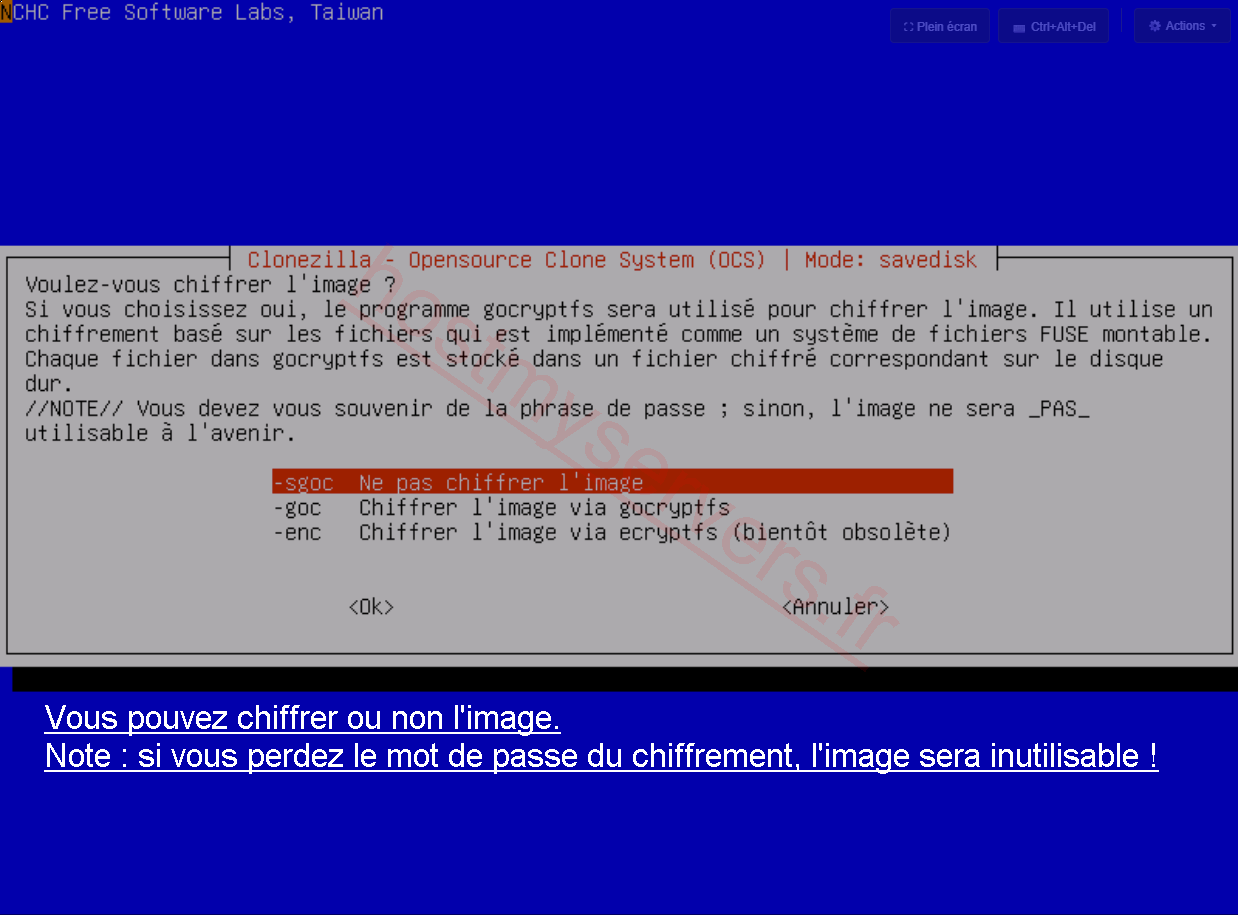 Encryption password
If you encrypt the image and lose the passphrase, the image will be unusable.
-
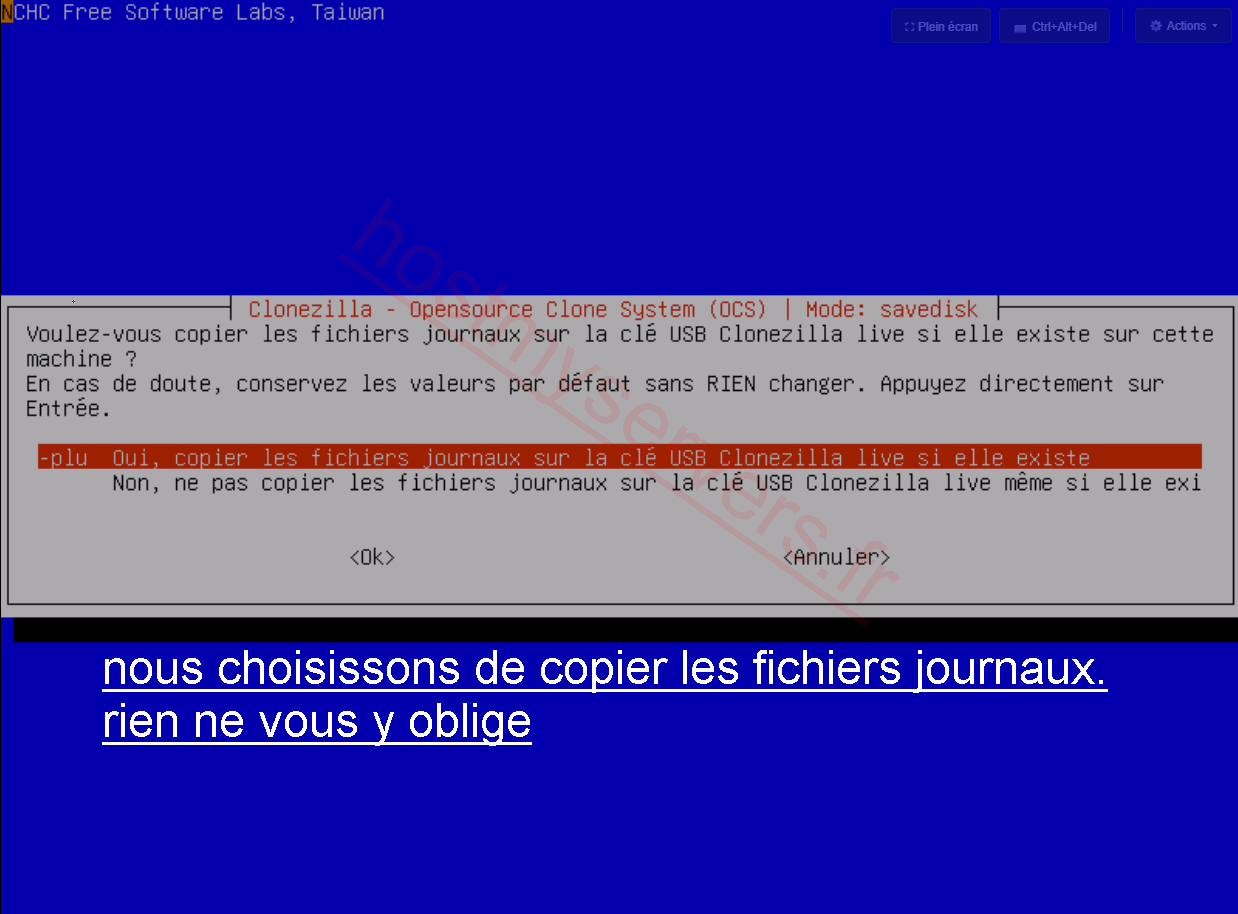
Copie des fichiers journaux (Copy of the log files) to the Clonezilla USB drive: nothing forces you to. On a VPS, the ISO is read-only and the copy is skipped; keep the default value.
-
Action à exécuter à la fin (Action to run at the end): choose
-p poweroff(Arrêter, i.e. power off). The VPS shuts down once the backup is finished, which gives you time to unmount the ISO before restarting it.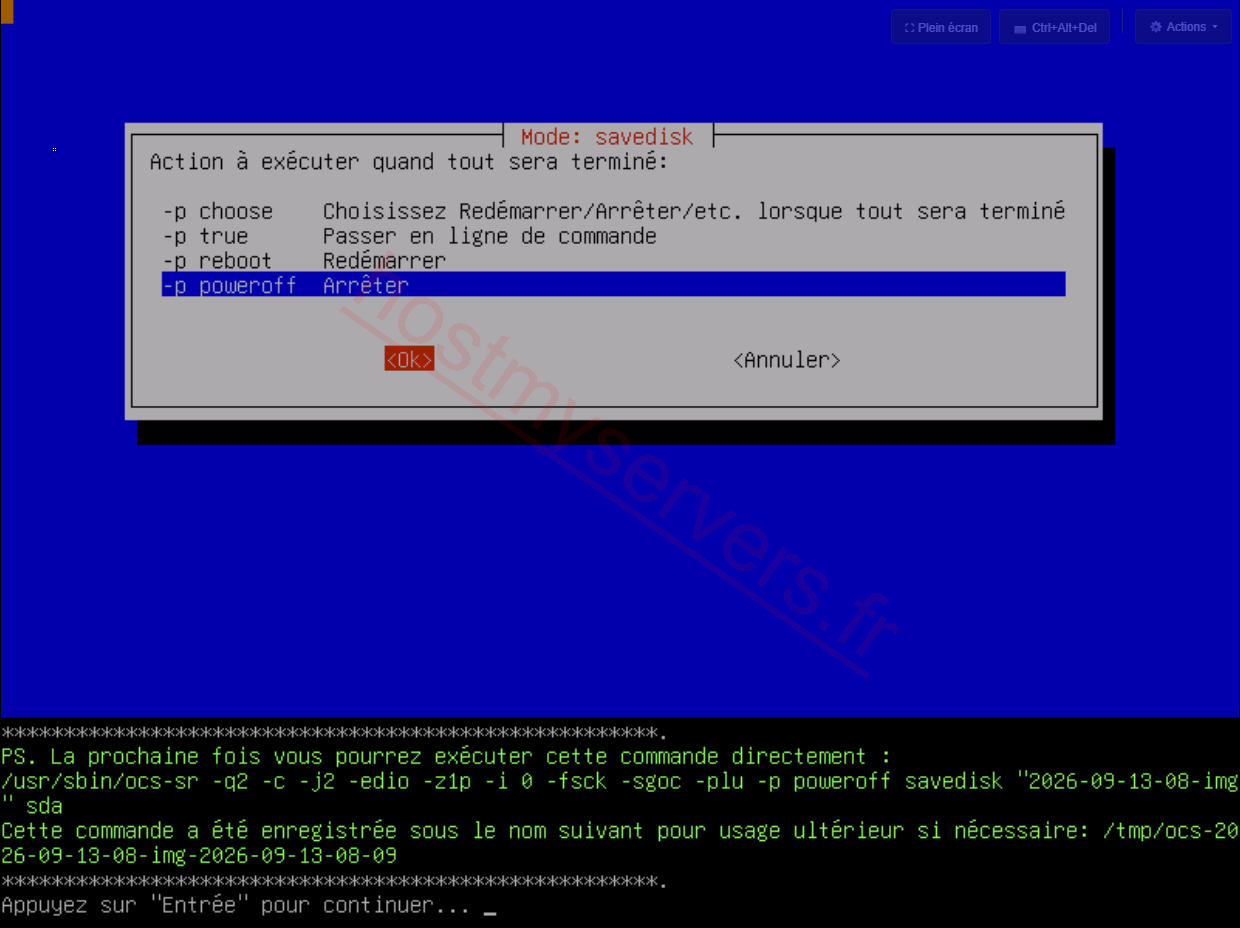
Clonezilla displays the equivalent command, which you can use directly next time. Here it corresponds to the choices above:
/usr/sbin/ocs-sr -q2 -c -j2 -edio -z1p -i 0 -fsck -sgoc -plu -p poweroff savedisk "2026-09-13-08-img" sdaPress Enter to continue.
Step 10: start the backup
Clonezilla lists the partitions that will be backed up and the destination folder. Check them, then type y and confirm with Enter.
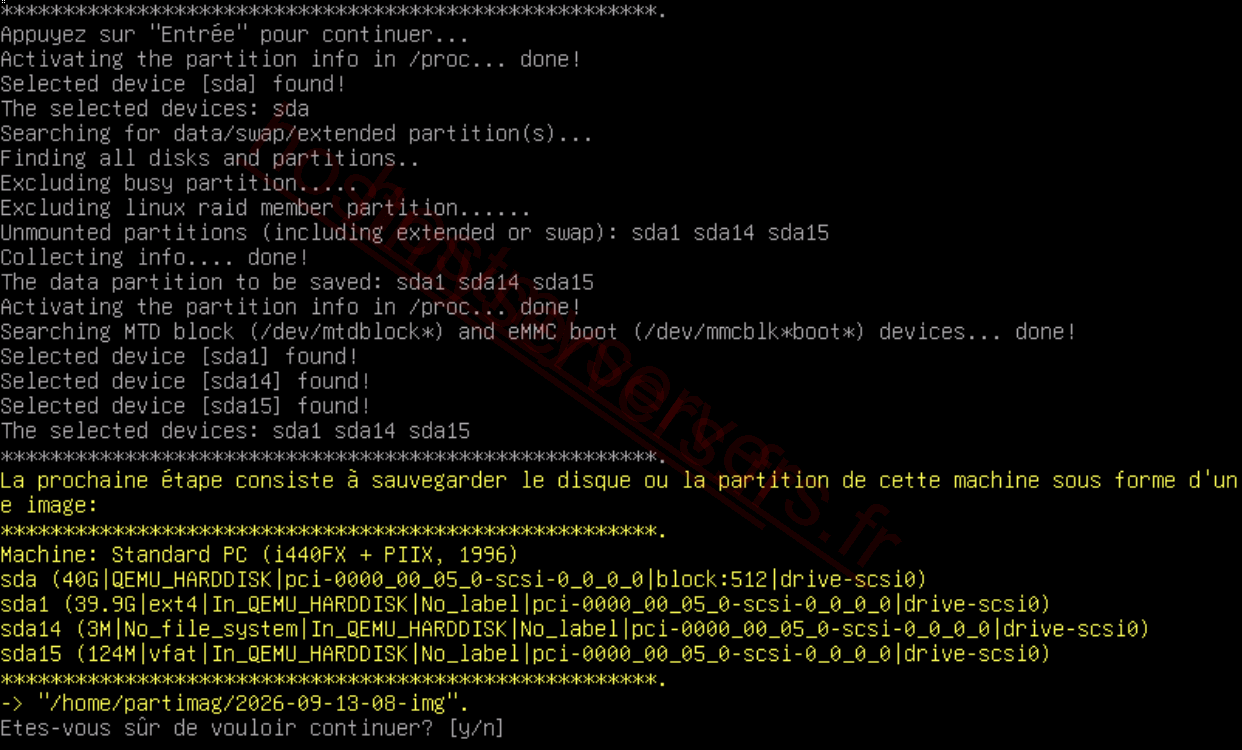
The backup starts: Partclone displays the progress for each partition.
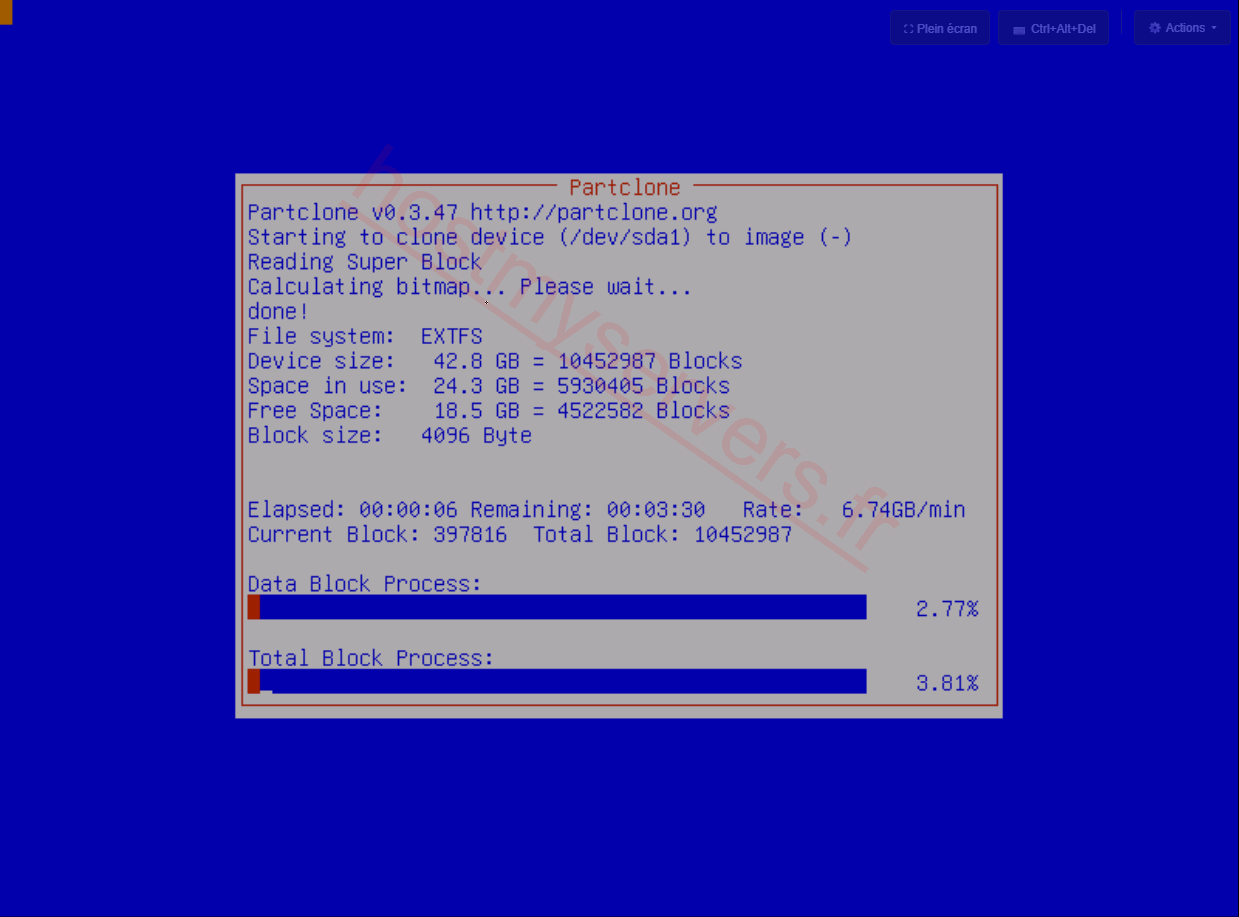
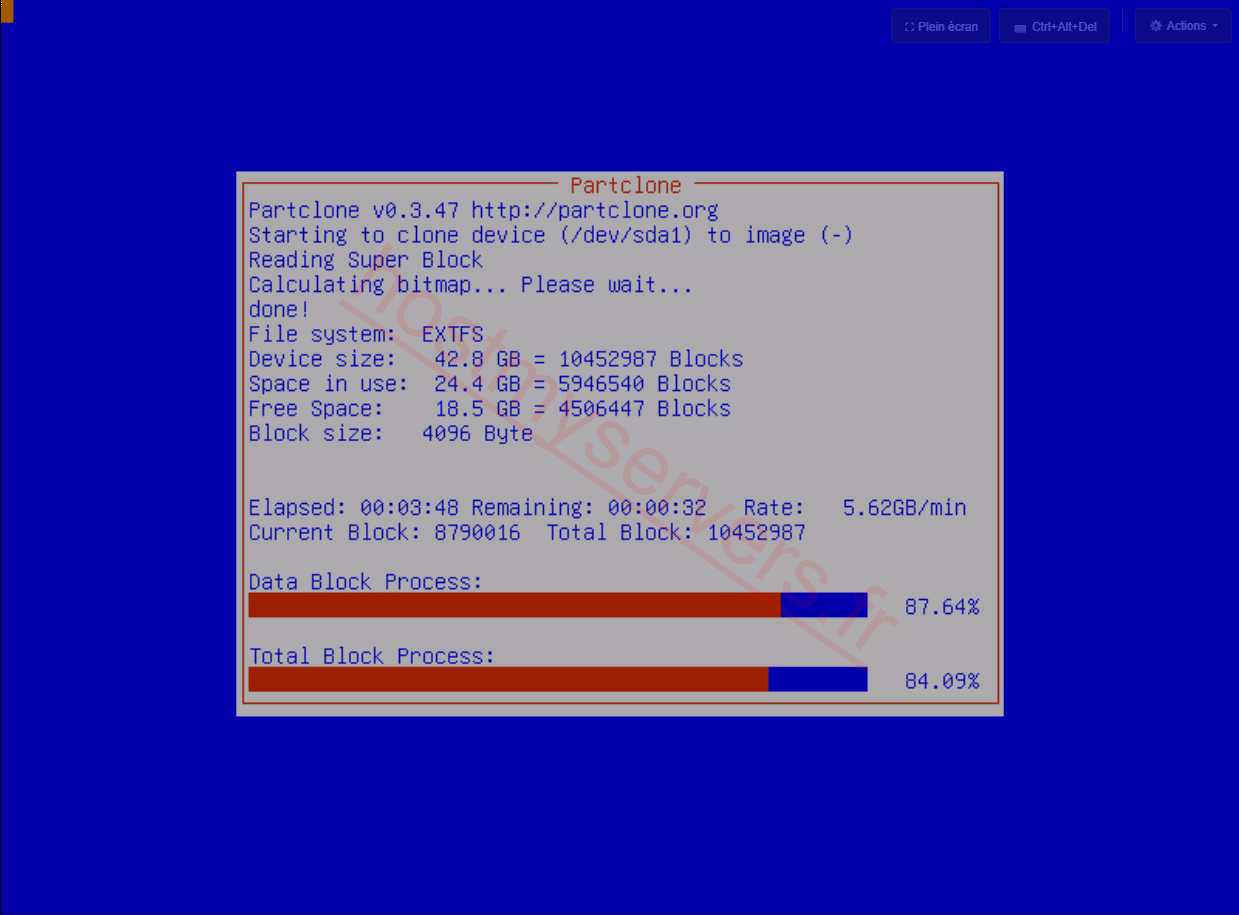
The image verification then starts automatically.
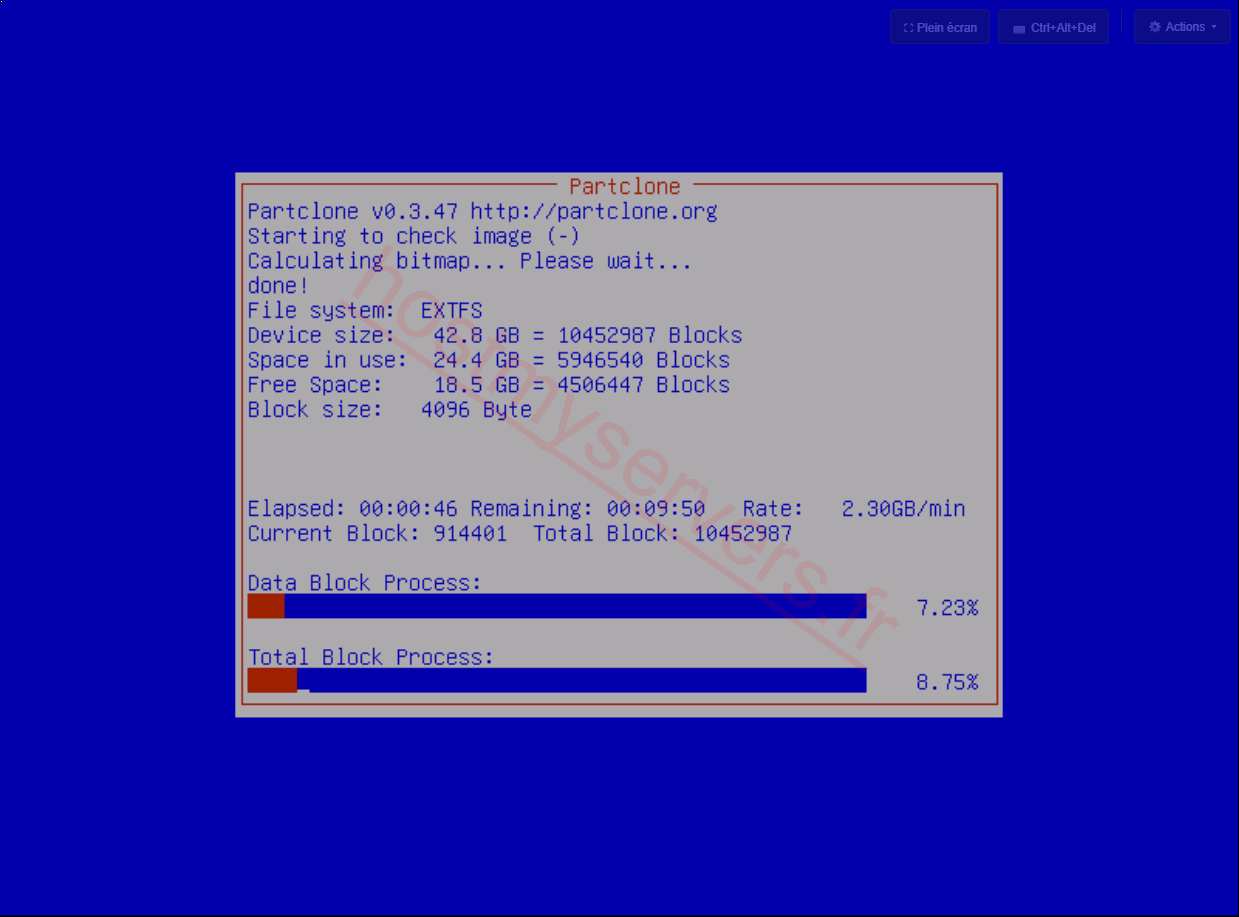
At the end, Clonezilla indicates that all partition images have been verified and are restorable. Your backup has been verified and successfully transferred to your Windows host. Press Enter to finish: the VPS shuts down.
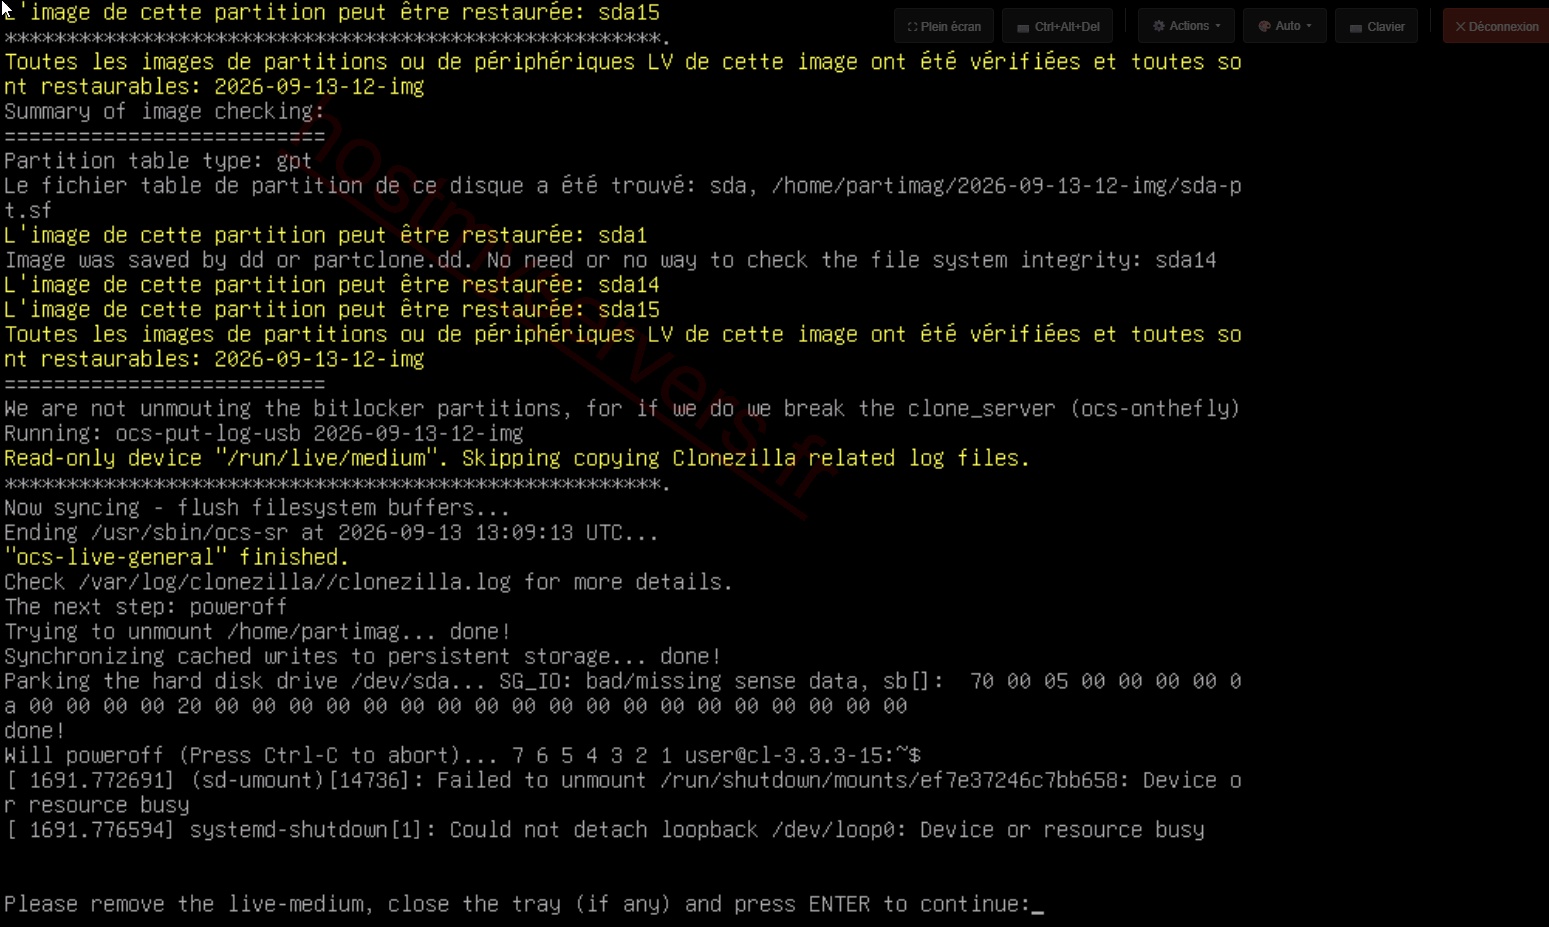
The Failed to unmount and Could not detach loopback messages displayed while the live system shuts down are normal: they do not call the backup into question.
Step 11: unmount the ISO and restart the VPS
Go back to the Image ISO section of your instance, click the three small dots on the Clonezilla ISO and select Démonter (Unmount). Without this step, your VPS would boot into Clonezilla again.
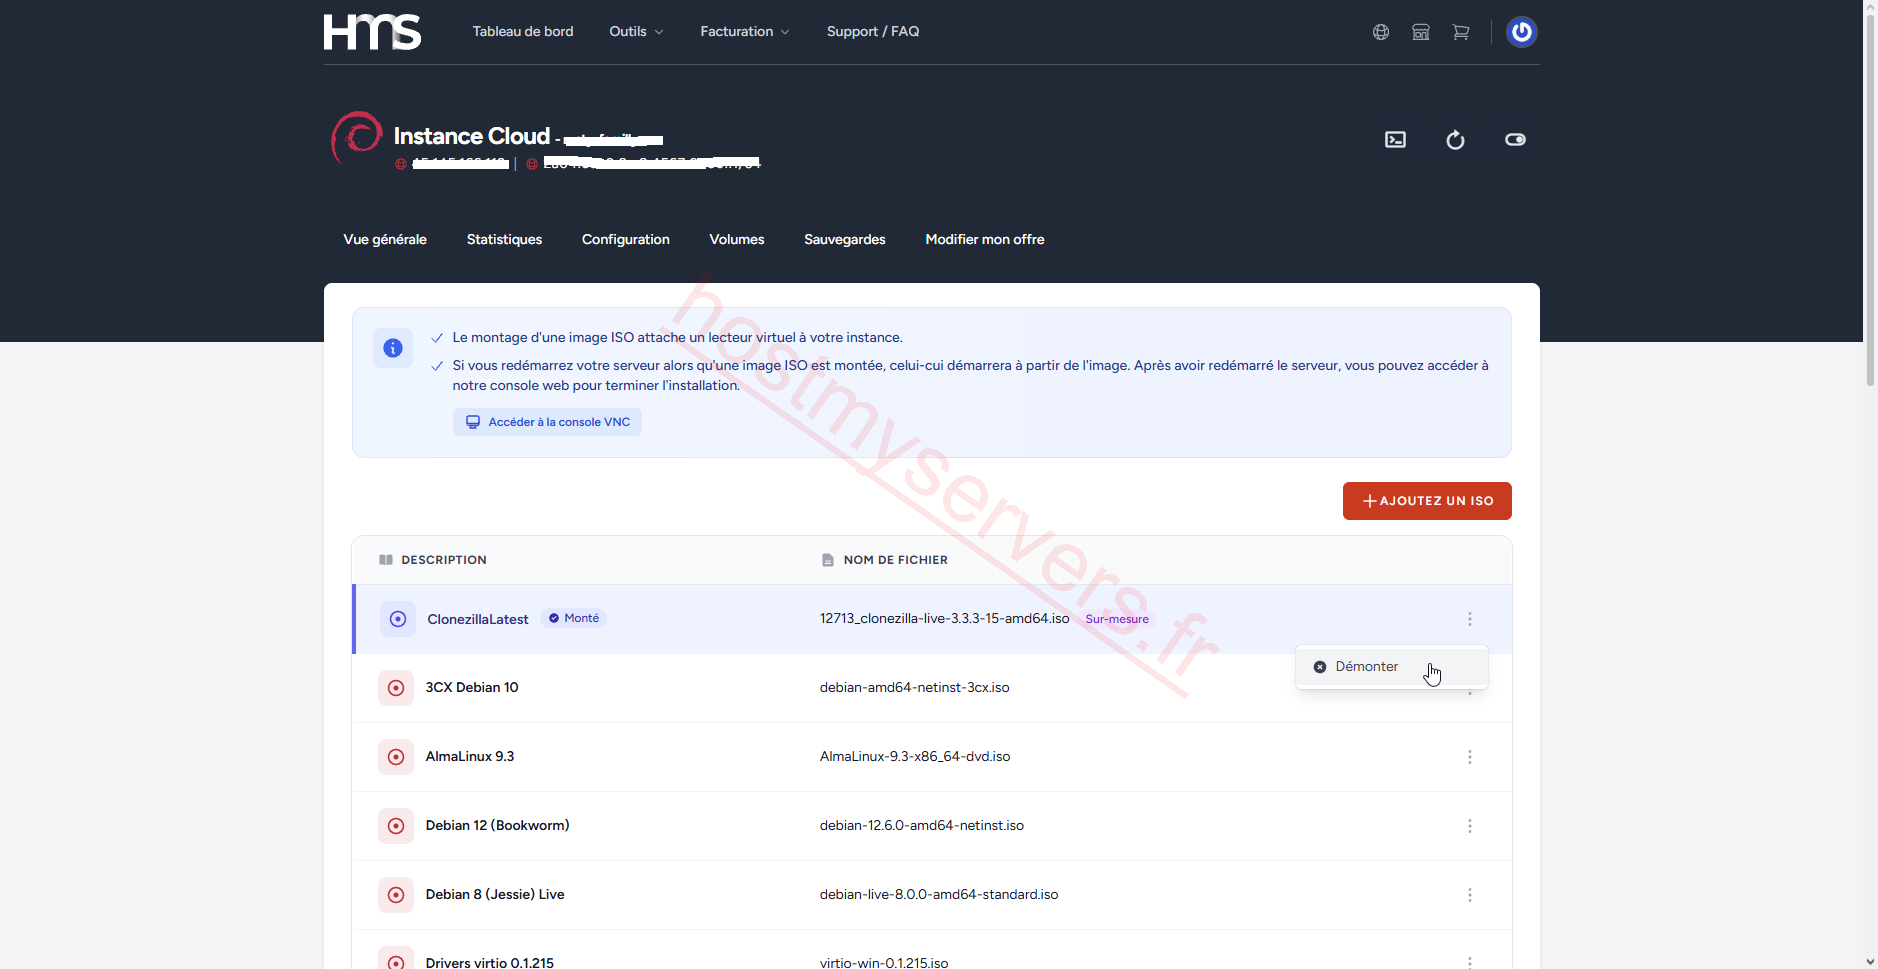
Then restart your VPS from the client area: it boots on its own system again.
Restoring the backup
Restoration replaces the entire contents of the target disk with the image. Double-check the selected disk and make sure you have backed up any important data.
To restore the backup:
- Mount the Clonezilla ISO and boot the VPS on it (steps 3 to 7).
- Select Start_Clonezilla, device-image, ssh_server, then enter the address, port, account and full folder path again (step 8).
- Choose the Beginner mode, or Expert if you need advanced options (for example restoring to a disk of a different size), then restoredisk. If
restorediskdoes not appear in the list, check that the path of the remote folder is correct: Clonezilla only offers restoration if it detects an image. - Select the image to restore, then the target disk of the VPS.
- Check the information displayed and confirm by typing
y, thenyagain. - At the end of the restoration, unmount the ISO (step 11) before restarting the VPS.
Troubleshooting
No network connection in Clonezilla
If DHCP fails, configure the network manually. In the menu that follows the keyboard selection, select Enter_Shell (switch to the command line), then run the following commands, replacing YOUR_VPS_IP and GATEWAY with the information noted in step 1:
# Switch to root
sudo -i

# Bring up the network interface (eth0, or the name shown by "ip link")
ip link set eth0 up

# Add the IPv4 address of the VPS
ip addr add YOUR_VPS_IP/32 dev eth0

# Check that the interface is "UP"
ip link

# Configure the route to the gateway, then the default route
ip route add GATEWAY dev eth0
ip route add default via GATEWAY dev eth0 onlink
Then type exit twice to return to the main menu, and continue at step 8. As no DNS server is configured, enter the IP address of the Windows host rather than a domain name.
Clonezilla cannot mount the SSH folder
- Check that the
sshdservice is running on the Windows host and that the port is allowed in its firewall. - If the computer is behind an ISP box, check the port forwarding and enter the correct port in Clonezilla.
- Check the account and password: the Windows account must be protected by a password.
- Check that the destination folder exists and that you entered its full path (
/C:\Users\Eric\vps2026).
The VPS reboots into Clonezilla instead of its system
The ISO is still mounted: unmount it from the Image ISO section of your instance (step 11), then restart the VPS.
This guide is adapted from the tutorial Sauvegarde Clonezilla ("Clonezilla backup", in French) written by Eric B.